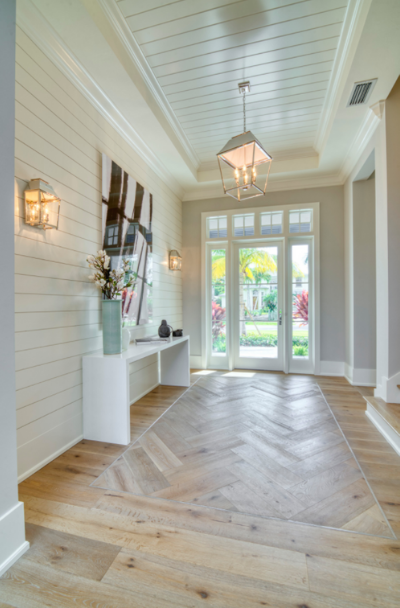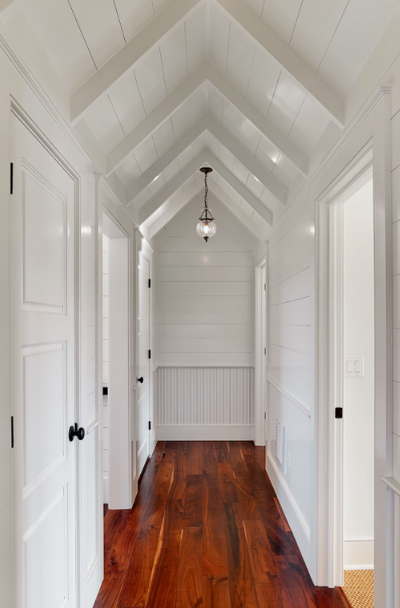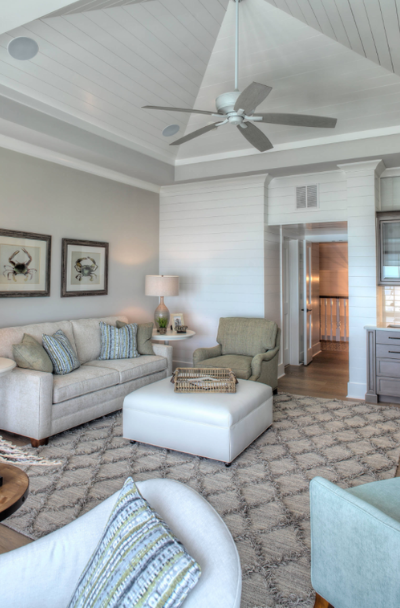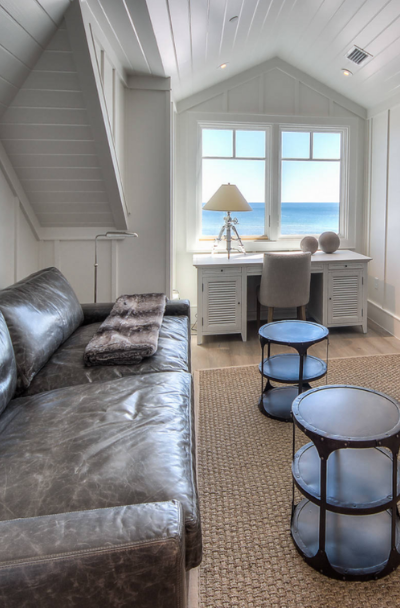
Featured Image: ShoreStone Custom Builders, Inc.
Shiplap is a kind of wood board used for exterior and interior siding and ceilings. Historically, shiplap was utilized outside of ships, sheds, and barns to keep the elements out of the structure. The way that shiplap fits together makes it ideal for this objective since it creates a waterproof seal on the structure. The historical use of shiplap wasn’t restricted to those kinds of constructions, however. It had also been used in homes to keep the structure safe and sound from the elements. If you want to know more, read on and find inspiration as we unveil these shiplap tongue & groove ceiling design ideas and images.
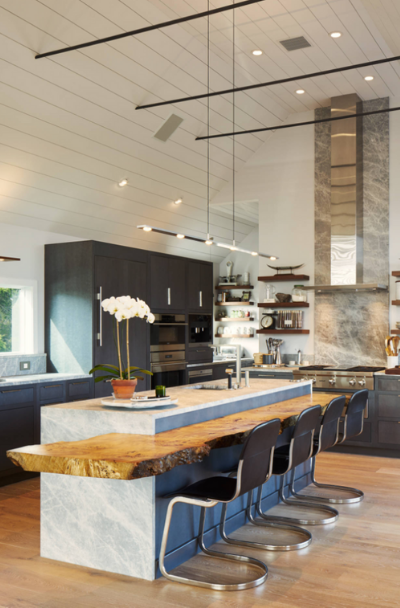
WHISPERING WOODS
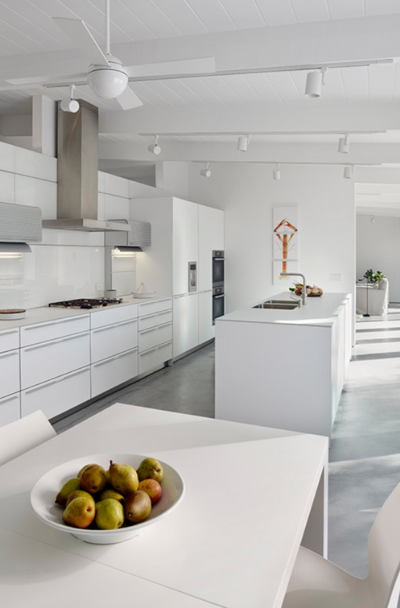
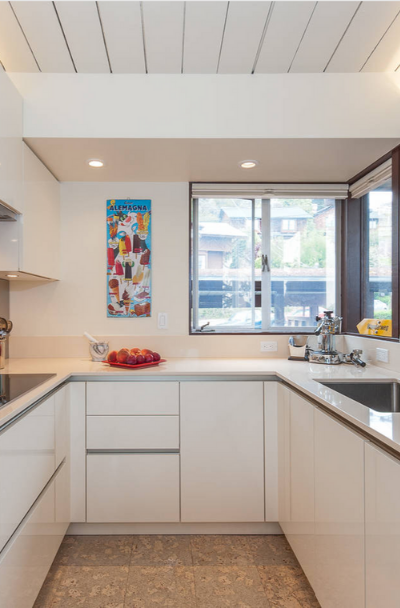
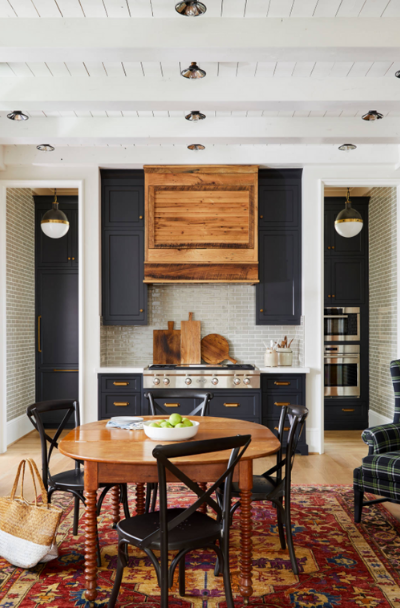
In this modern kitchen by McKee Builders, the white shiplap ceiling brings texture and visual interest, contrasting beautifully with the sleek black cabinetry and stainless steel appliances for a contemporary and stylish look.
REPOSE GRAY
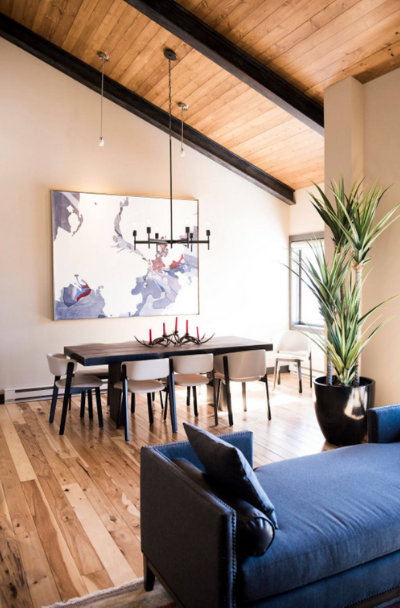
This dining room by Dream Finders Homes showcases a dramatic shiplap ceiling with a dark stain, creating a sense of depth and sophistication, while the pendant lighting and farmhouse-style table complete the rustic charm.
TRAY CEILING
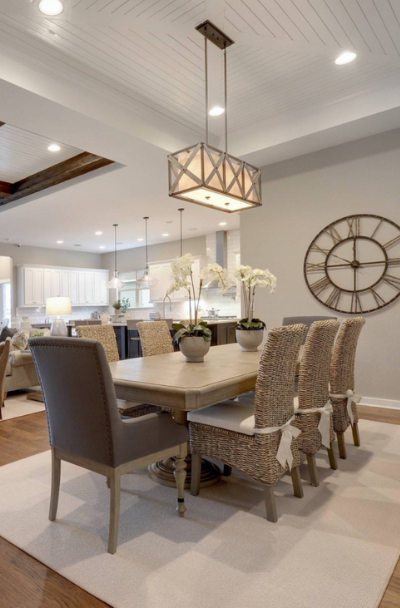
This space by Divco Custom Homes features a shiplap ceiling that adds character and visual interest. At the same time, the large windows and neutral color palette create a bright and airy atmosphere, perfect for productivity.
HALLWAY
In this industrial-inspired living room by Structures Building Company, the shiplap ceiling is a backdrop for the exposed ductwork and pendant lighting, adding a touch of urban sophistication.
MINIMALIST GALLEY
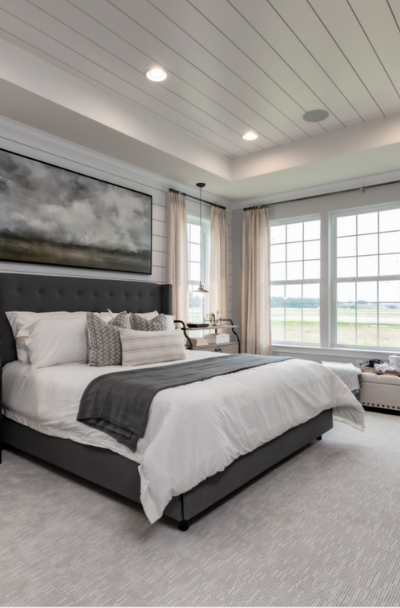
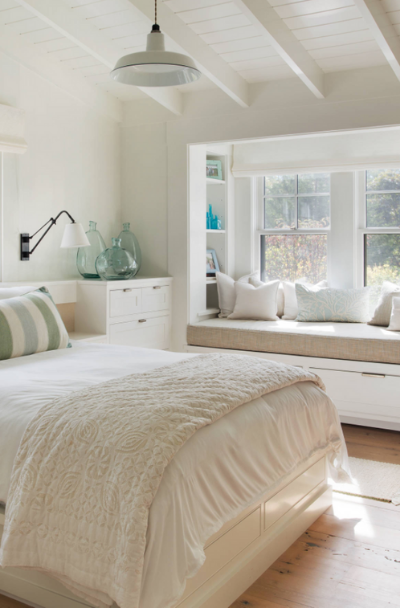
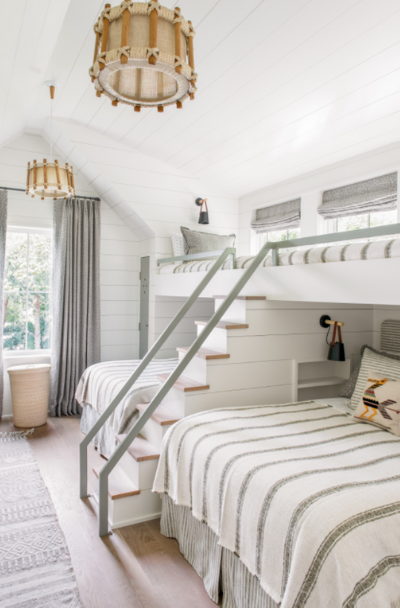
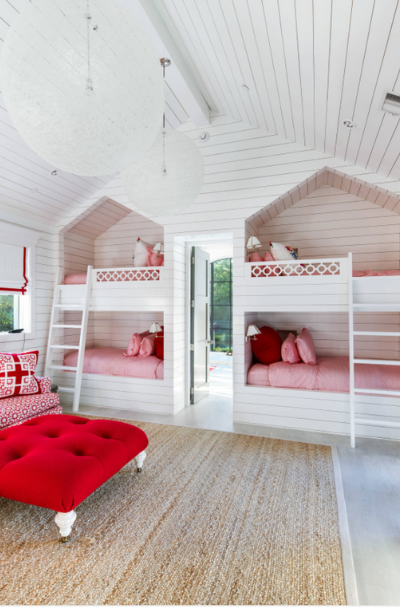
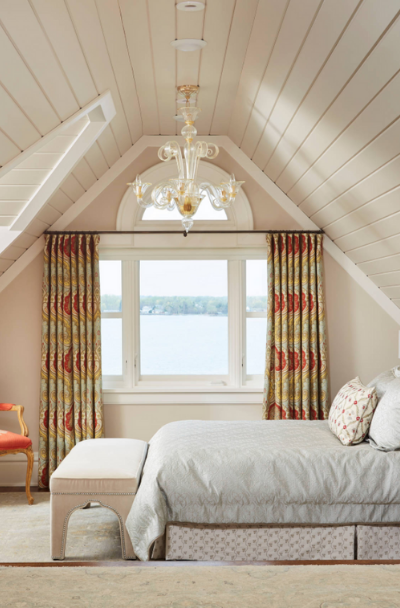
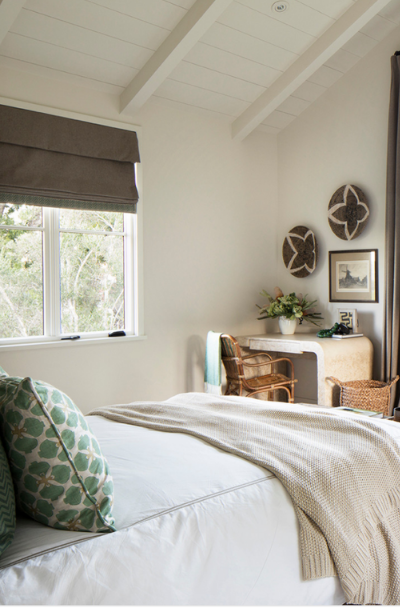
The shiplap ceiling in this bedroom by Edmonds + Lee Architects adds a touch of texture and visual interest. At the same time, the neutral color scheme and plush bedding create a tranquil and inviting atmosphere.
FRENCH COUNTY
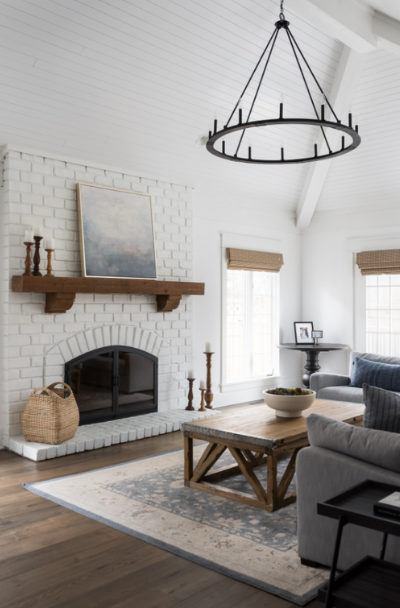
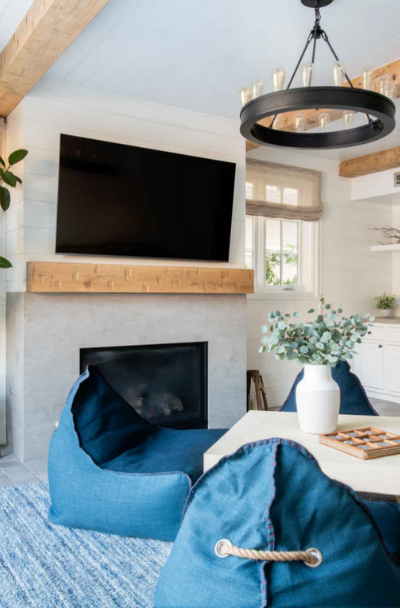
The shiplap ceiling in this contemporary living room by Absolute Design brings a cozy and rustic element, complemented by the sleek fireplace and modern furnishings for a perfect blend of styles.
What Is Shiplap Ceiling?
Before drywall and sheetrock had been common, shiplap was utilized as a base layer in the wall. Not intended to be exposed, shiplap would then be covered with a layer of cheesecloth or similar material, then covered with wallpaper. While shiplap is no longer used in a practical sense, it has recently come into style due to its aesthetic qualities. When utilized as a design component, shiplap can transform a living space. The exposed wood brings warmth and comfort to the area, in the same manner as a log cabin. The texture gives a finish that removes the necessity for art or various other products that tie the room together.
One significant aspect of shiplap is that it can be painted or stained to complement any room scheme. For those searching for a more rustic aesthetic, opting for stained or bare boards would be an excellent choice. This will coordinate with the furniture and other space elements to produce a warm, welcoming space. On the other hand, painting the shiplap ceiling will create a much different feeling to the area. Painting the shiplap ceiling white can provide the area with a modern feel, while pastel colors can go well with farmhouse decorations.
There is also the consideration of patterns. Just like hardwood flooring, the appearance of shiplapping might differ based on the direction the wood goes. For example, a flat ceiling can look good with shiplapping in a uniform order. Simultaneously, a vaulted ceiling can lend itself to an upward pattern on each side of it, meeting at the highest point. Some shiplapping utilizes decor touches like beams over the shiplap ceiling. This is popular with, once more, vaulted ceilings. This produces aesthetically pleasing symmetry. They can lay flat against the shiplap or connect from one side of a slanted ceiling to another like rafters. With the appearance of natural wood, shiplap is very easy to set up in living areas, halls, bedrooms, or dining rooms, and yes, it is equally stress-free to get rid of. Shiplap is ideal for accent wall space or anywhere you want to put in a farmhouse, vintage, or traditional look.
BEACH STYLE
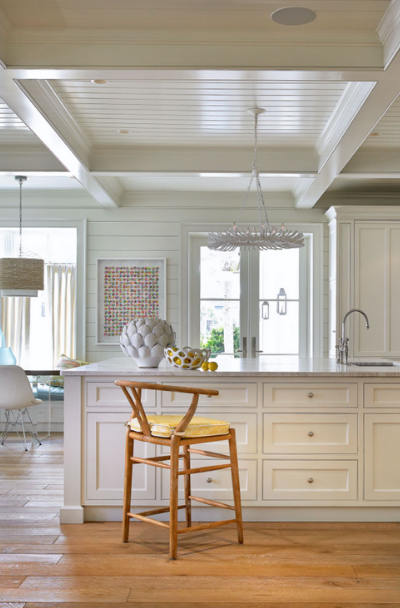
The shiplap ceiling in this kitchen by CHD Interiors adds a touch of farmhouse charm. At the same time, the elegant chandelier and dark wood dining table create a sophisticated and inviting space for entertaining.
COASTAL
This kitchen by Freestyle Interiors features a shiplap ceiling with a white-washed finish, creating a light and airy atmosphere. At the same time, the clawfoot bathtub and vintage-inspired fixtures add a nostalgic touch.
SUNROOM
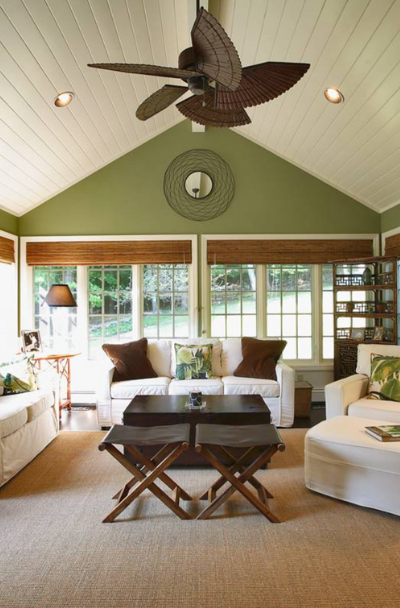
In this stylish room by Martha O’Hara Interiors, the shiplap ceiling is a focal point, enhanced by the recessed lighting and contemporary decor, creating a chic and relaxing retreat.
SCANDINAVIAN
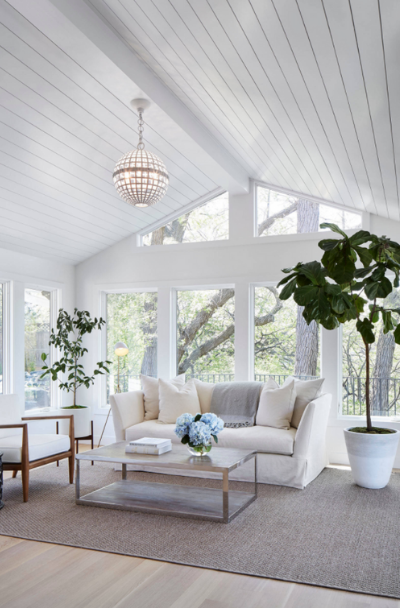
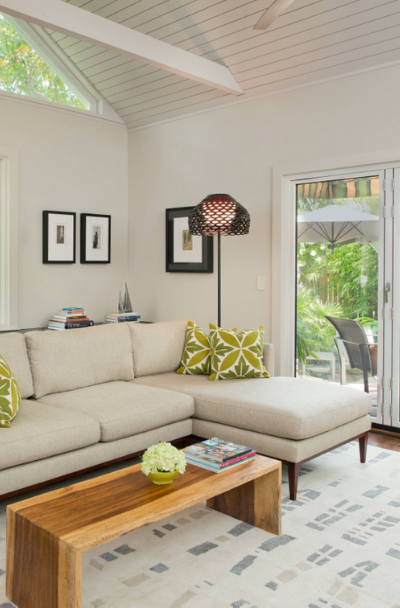
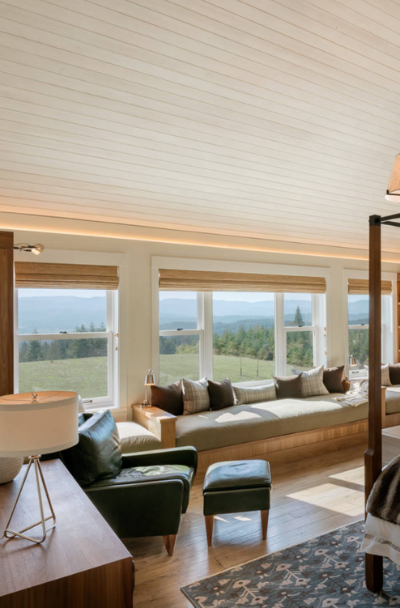
The vaulted shiplap ceiling in this living room by Coddington Design adds architectural interest. At the same time, the large windows and comfortable seating create a welcoming and cozy space for gathering and relaxation.
How To Install Shiplap Ceiling
Shiplap is an exterior home siding available in long, horizontal boards that overlap one another at the long edges. A shiplap board overlaps the top ¼-inch of its lower neighbor to produce a stable and weather-proof joint. Interior shiplap board brings the appeal of exterior shiplap indoors, with a couple of modifications. The interior-use shiplap is also thinner than the external panel. The wood ceiling planks are stained and are artificially distressed for a minimal weathered appearance. Interior shiplap is also milled with a tongue and groove shiplap edge for an authentic appearance.
You may have decided on utilizing shiplap for your ceiling but don’t know how to install shiplap. But don’t worry, keep on reading to learn. Because the shiplap is lightweight, it can be installed on the interior walls in numerous ways. It can be glued directly to the structure with construction adhesive, nailed straight onto the ceiling with finish nails or brads, or by nailing the furring strips to the ceiling first, then nailing the shiplap to the furring strips. The furring strip technique helps override minor wall imperfections, prevents damage to the ceiling, and is easier to remove.
The first step is to installing shiplap is to measure the ceiling and select planks. Use a tape measure to determine the room’s length and width, then multiply the width and length measurements to find square footage of the ceiling. Buy enough planks to cover the ceiling’s square footage plus ten percent for the mistakes and waste. When looking for planks to apply to the ceiling, it is better to utilize small, lightweight planks, ideally tongue and groove pine. This type of plank can be found in the paneling aisle of hardware stores. Once you are done with the measurements and choosing the planks, the next step is to prime and paint the planks. Pour the primer into lined paint, then try and apply to planks with a six-inch foam roller. Drips in the groove or off the tongue will interfere with the way they fit together; thus, wipe any drips with a paintbrush and apply a thin coat of primer. After which, measure and cut the planks. Determine what direction the wood ceiling planks will go in the space. It is perfect for getting planks run perpendicular to ceiling joists to be nailed into joists. Planks can be fixed directly into drywall parallel to the joists as long as the planks are lightweight. For instance, if the planks are running width-wise in a 12′ wide room and 8′ long planks are now being utilized, cut a few planks to 4′ in length. If you are using crown molding, cut pieces slightly short of wall structure width. If molding or trim is not being installed, cut the pieces to fit well. Cut as many planks as needed to cover the ceiling.
ENCLOSED
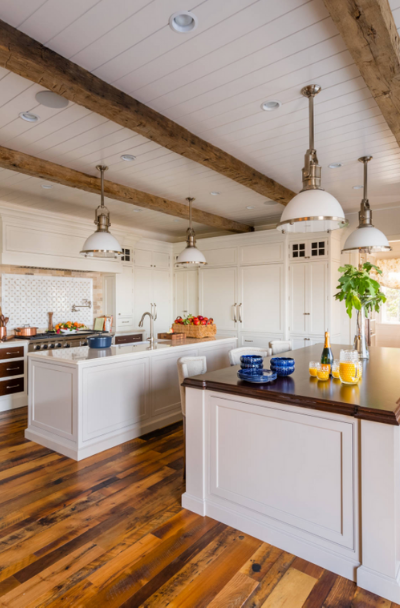
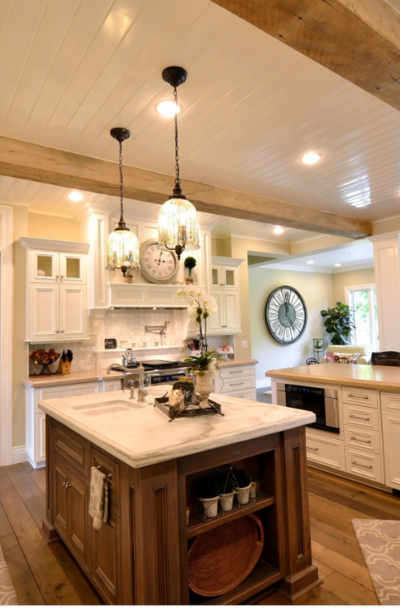
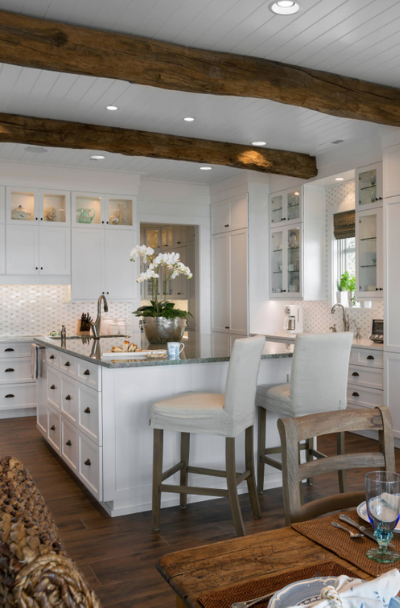
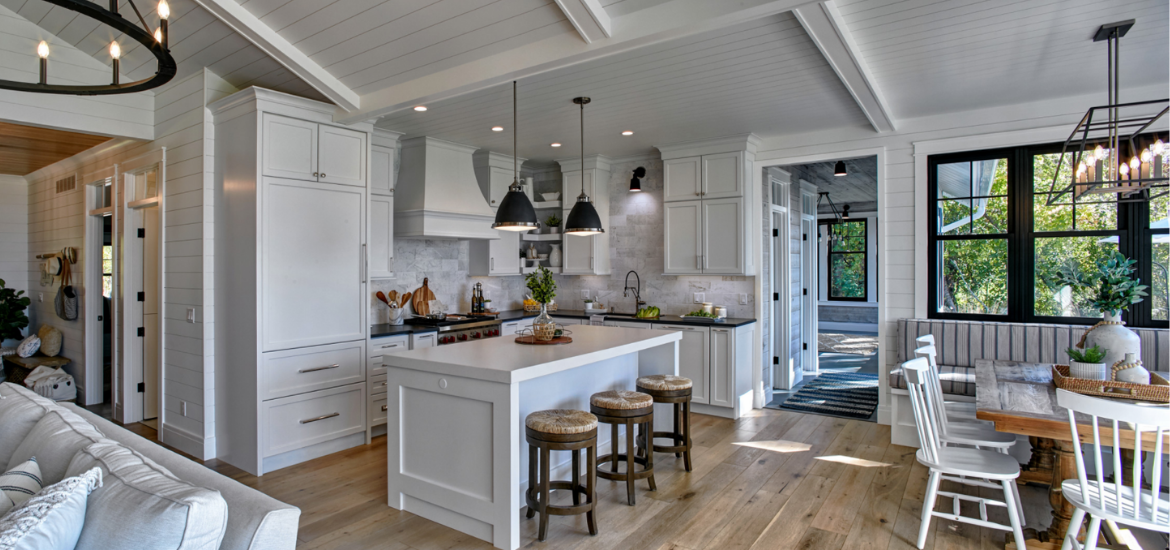
This kitchen by Woodland Contracting Corp. showcases a vaulted shiplap ceiling with exposed wooden beams, creating a rustic and inviting ambiance, while the white cabinetry and marble backsplash add a touch of elegance.
LOOKOUT
The shiplap ceiling in this kitchen by Luxe Remodel brings a sense of warmth and texture to the space, while the built-in bookshelves and natural light create a perfect environment for productivity and inspiration.
OCEANFRONT
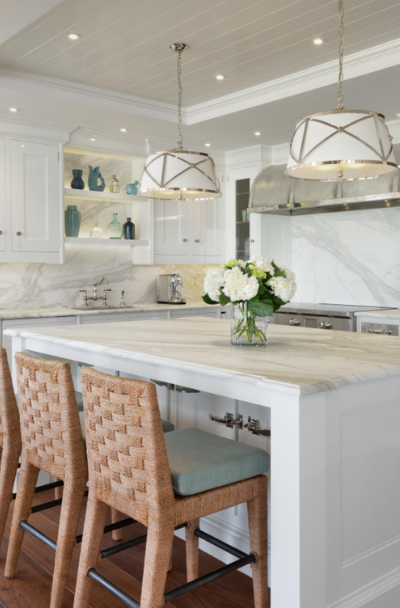
In this bright, airy kitchen by Cronk Duch Architecture, the shiplap ceiling adds a touch of coastal charm, while the rattan chairs and natural wood table complete the relaxed and inviting atmosphere.
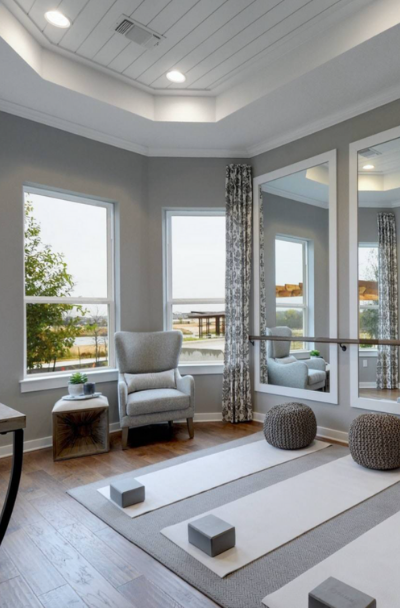
HOME GYM
This home gym by Dream Finders Homes features a shiplap ceiling with a gray wash, creating a contemporary and sleek look, while the black fixtures and minimalist design add a touch of modern sophistication.
TRENDY
The shiplap ceiling in this kitchen by BERG DESIGN ARCHITECTURE exudes a cozy and cottage-like feel, enhanced by the soft color palette and plush bedding, creating a serene and comfortable retreat.
BRIGHT WHITE
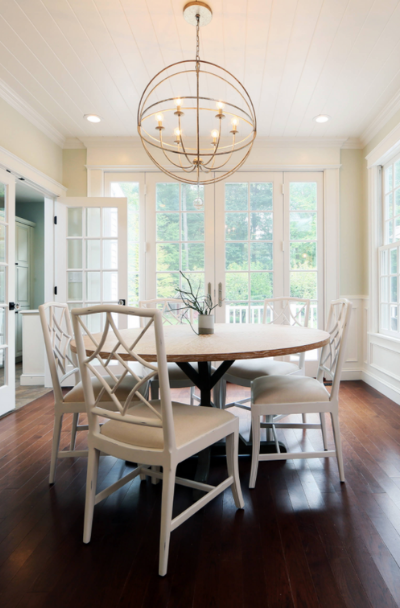
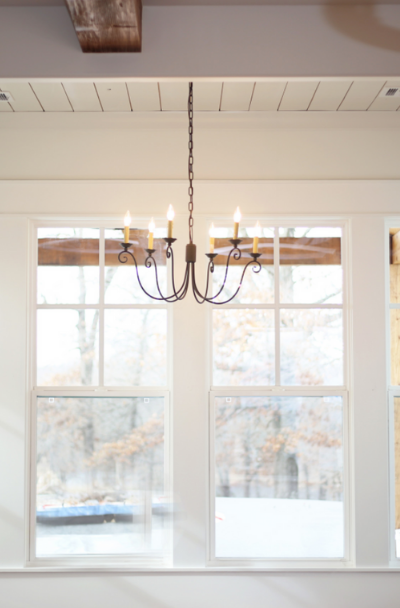
In this charming room by Delpino Custom Homes, the shiplap ceiling with a white-washed finish adds a touch of coastal elegance. At the same time, the rustic chandelier and farmhouse-style table create a perfect space for intimate gatherings.
Tips In Installing Shiplap
Installing the planks is best completed with two people. Begin on the part of the room that is the most visible. Place the planks flush against the wall and nail into the ceiling with a finishing nailer. When nailing into the drywall, insert nails at a slight angle and apply a small amount of construction adhesive to the back of each plank using a caulk gun. When shooting into ceiling trusses, utilize a stud finder and mark the place of trusses with a pencil. Nail directly to ceiling trusses to secure. When applying the plank to complete the first row, ensure that the tongues are lined up, and the planks form a straight, continuous line. Most homes don’t have perfectly square walls: thus, planks may not fit flawlessly flush against the walls. After the first row, install the next row of planks, staggering joints. Then the next step is to cut around the light fixtures. When ceiling treatment reaches the light fixture, turn the electricity in the room off at the breaker box. Remove the light fixture, then hold the plank up to the ceiling outlet and mark the width and depth with a pencil. After that, cut out the marked area with a jigsaw. Hold the plank up to the outlet to ensure that the cut is in the proper place. Repeat this procedure to the other outlets that will be affected by the installation. Reinstall the fixtures and turn the power back on. Continue installing the planks until the entire ceiling is covered. The last procedure is to fill the nail holes and touch up the paint.
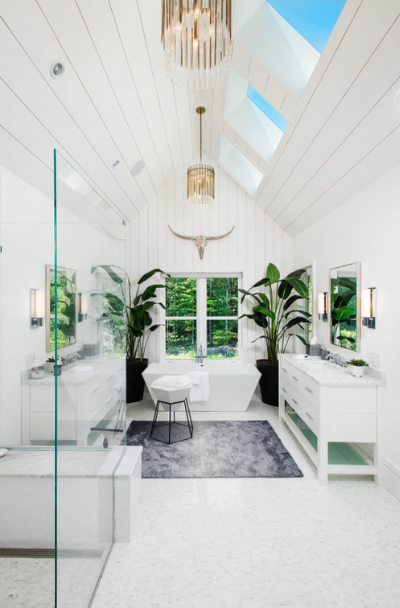
FARMHOUSE
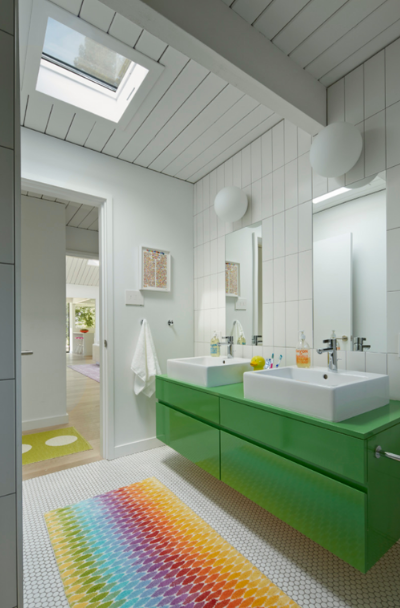
This contemporary bathroom by Fletcher Development LLC features a shiplap ceiling with a dark stain contrasting beautifully with the white cabinetry and quartz countertops. At the same time, the pendant lights and sleek appliances add a modern touch.
OPEN PLAN
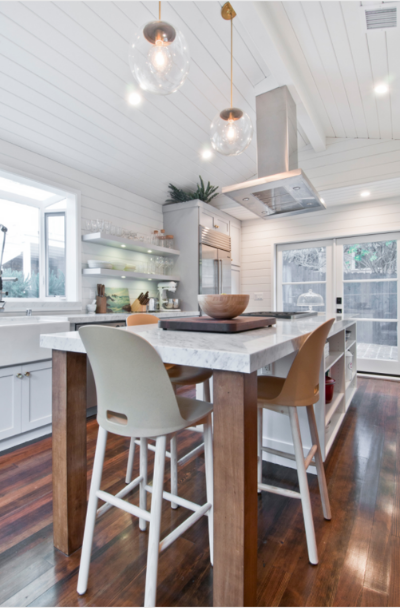
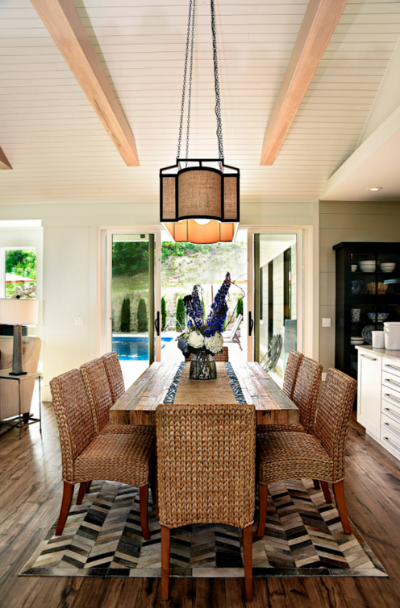
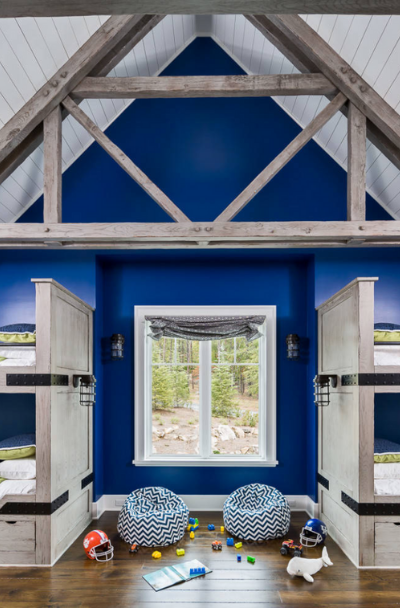
The vaulted shiplap ceiling in this living room and kitchen by Plain and Posh creates a sense of height and openness. At the same time, the exposed wooden beams and large windows allow natural light to fill the space, creating a warm and inviting atmosphere perfect for relaxation.
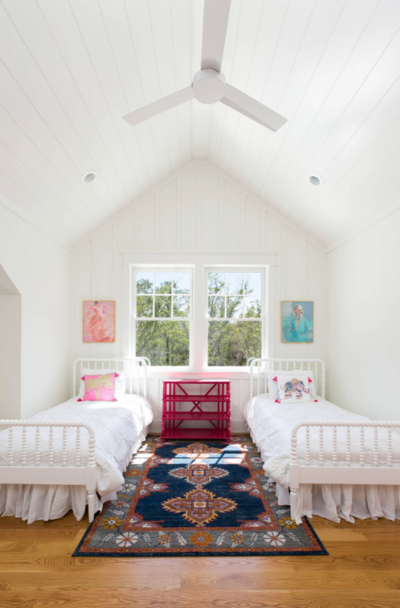
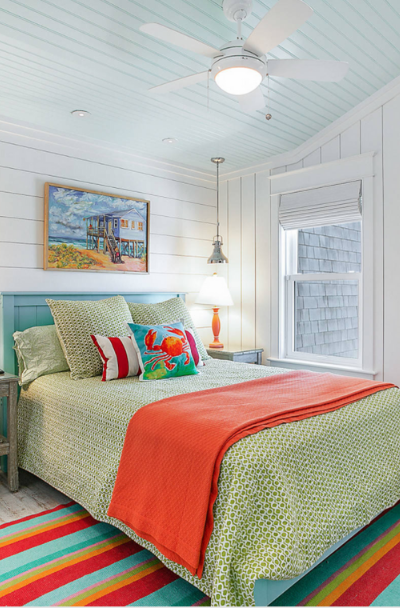
BEACH BARN
John Thayer Cabinetmakers, LLC
Cozy and comfortable farmhouse bedroom with a reading nook.
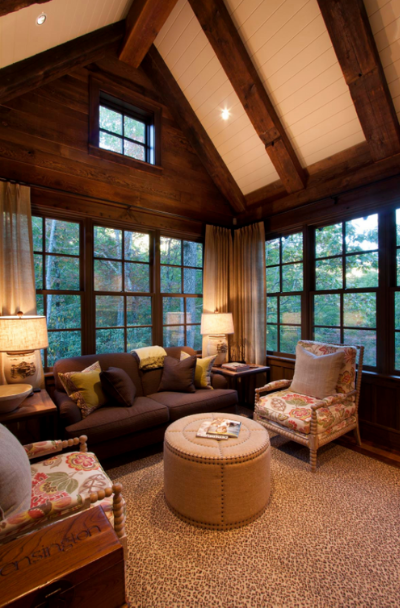
NATURAL WONDER
Morgan-Keefe Builders, Inc.
Rustic family room with lots of brown for a dramatic touch.
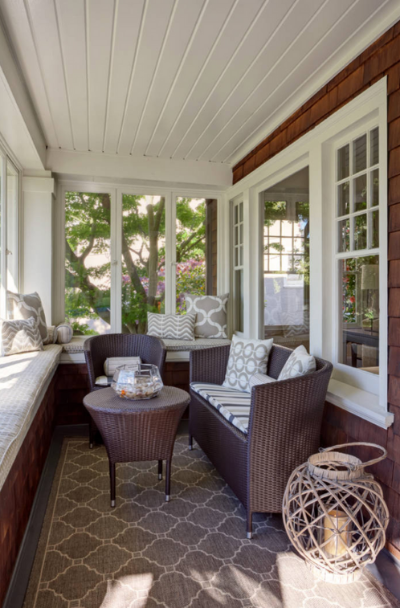
INVITING
Michael Friedes Design Associates
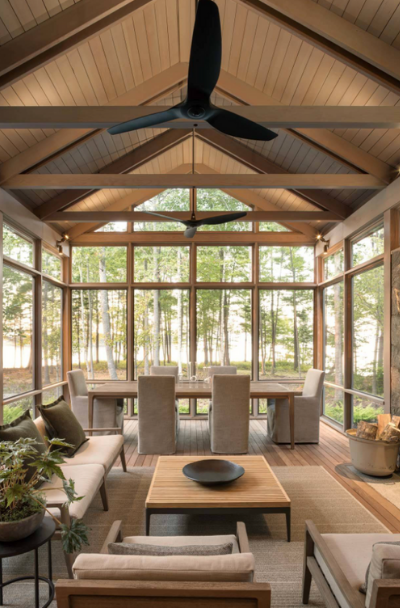
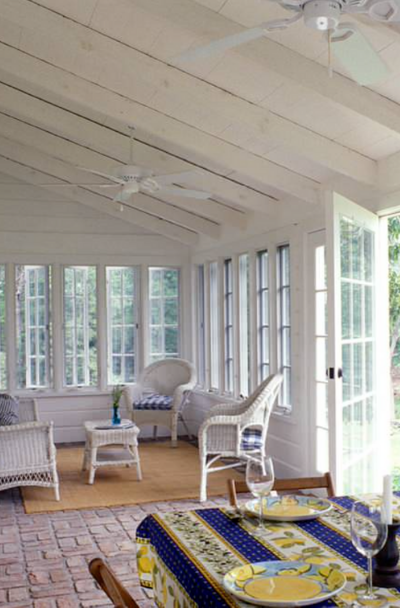
Enclosed sunroom with a comfy sitting area and a welcoming vibe.
CLIFF BEACH
Viscusi Elson Interior Design – Gina Viscusi Elson
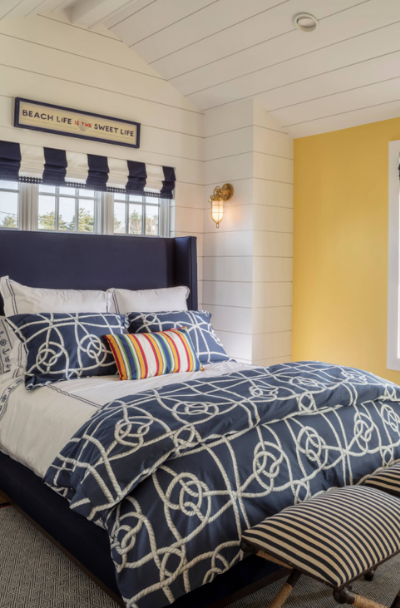
Opal Cliff beach house bedroom with a nautical theme.
MASTER BEDROOM
Rockefeller Kempel Architects
Master bedroom complete with a fireplace and reading nook.
Tongue And Groove
Tongue and groove is a way of fitting the same objects together, edge to edge, utilized primarily with wood in paneling, parquetry, flooring, and related constructions. Tongue and groove joints allow two flat parts to be joined firmly in concert to create one flat surface. The tongue and groove joint is widely utilized for re-entrant angles. The influence of wood shrinkage is concealed when the joint is beaded or molded. Every piece has a slot, the groove, cut along one edge, and a thin, deep ridge, the tongue, on the opposite edge. The joint is usually glued since shrinkage can pull them apart. Tongue and groove boards are a wood planking system that joins an adjacent panel by interlocking the ridges and grooves built into the pieces’ sides. This method produces strong support in any application and makes for a more solid structure. Among all other ways of installation, tongue and groove installed surfaces tend to be more level. The main advantage of tongue and groove boards are their interlocking planks that allow for easy installation and remove the need for exposed nail heads. Tongue and groove boards were first mass-produced during the late 1800s and soon become the primary way wood flooring was produced. The technology behind pine tongue and groove boards is utilized in flooring, ceilings, wall siding, and decking. Tongue and groove ceiling planks serve as a decorative focal point for any room. Their authentic wooden appearance makes it a natural-looking cover-up for bare framing or even worn-out and flat ceilings.
The wood ceiling is and will continue to be among the most favored choices when finishing a project’s interior design. No matter the material applied to the rest of the structure (brick, glass, concrete, etc.), the dimensions of the project (from skyscrapers to small single-family homes), and the use to be made of the rooms (offices, public spaces, housing, etc.,) wood ceiling maintain its reputations as versatile material providing value to the interior or architectural design work. Wood ceiling planks have long been regarded as the elite choice for ceiling design, thanks to their adaptability and infinite variety. For generations, the wood ceiling continues to be a mainstay of public buildings and homes across the world, and today’s styles are no exception.
From weathered barn wood to repurposed ship’s beams, stripped surfaces, to finely polished finishes, your wood ceiling is your opportunity to reclaim the area above your head. Refined or rustic, the contemporary wood ceiling lends a simple and inviting air to any house, reminiscent of shabby chic seaside cottages and country retreats, ensuring the fuss-free deluxe a gentleman desires. When utilized as an architectural detail, a plank ceiling can help define a room, often becoming the focal point of an area by introducing visual texture and subtle contrast. You can produce a textured yet clean look with textures that vary from rustic knotty pine and driftwood to traditional maple. A plank ceiling is not hard to set up and makes an excellent weekend challenge for DIYers. There is no need for glue or nails; these ceilings install directly to drywall or ceiling joists with the Easy Up track and clip system, or even in some installations, utilizing the clips and screws bundled in the box.
This is an image roundup post, curated to showcase and promote other reputable contracting companies’ and their amazing work. To have any of the images removed, please reach out to us and we would be happy to do so.

