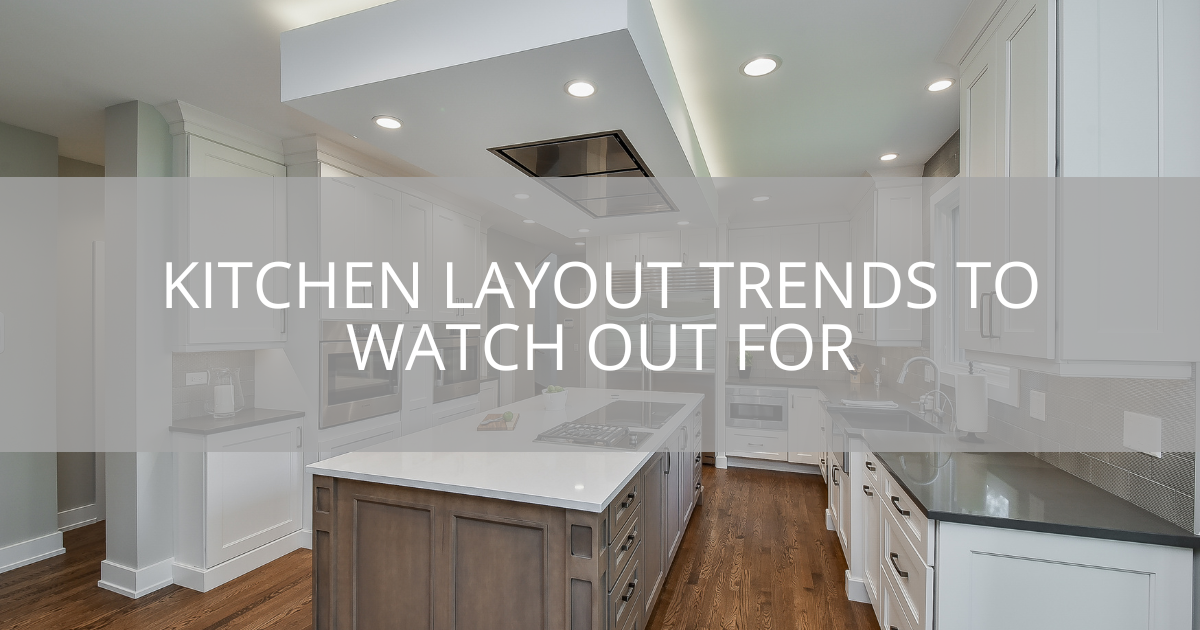
Featured Image: Sebring Design Build
Heated countertops have grown in popularity over the last five years, and remodelers, carpenters, and renovators are now confronted with the job of determining how to effectively install them.
Previously, remodelers had to spend a significant amount of time preplanning, researching, designing, and engineering to accommodate the needs of clients who wanted heated countertops. As a result, the feature became pricey and limited to high-end residences and business owners.
However, thanks to advancements in technology, installing temperature-controlled heated granite countertops is no longer difficult.

The sleek marbled countertop blends well with stainless appliances.
The History Of Heated Countertops
Originally, floor heating coils were installed onto the countertop’s substrate, which was normally 3/4-inch plywood. They had to plan out the layout of the coils so that they could be arranged in such a way that the concrete would be uniformly warmed. Contractors used a router to make channels in the substrate to accommodate connection cables for the bus system, allowing the thicker wires to rest beneath the surface of the plywood and not be squeezed by the concrete.
Because the floor heating systems use a closed-loop thermal-control technology, a temperature sensor was installed in the substrate and attached to a controller. Because floor heating mats consume a lot of power, a dedicated 120-volt 15/20-amp line from the breaker box was also necessary. This was especially difficult while remodeling an existing home.
Complicating matters was the fact that this approach put the contractor in charge of the heating solution. If the heating was installed so that the pad overheated or the approach generated thermal stress points, the contractor was frequently obligated to replace the concrete if it cracked or was otherwise damaged.
It normally takes four to eight hours to prepare and develop this countertop heating solution.

Gorgeous kitchen with white cabinets and greige countertop.
Specially Designed Countertop Heating Mats
In recent years, the solution has shifted away from floor heating coils and toward ultra-thin heated mats designed exclusively for counters. This drastically altered the level of effort required by renovators and installers.
These new countertop heating mats, which are available from companies such as FeelsWarm and WarmlyYours, significantly minimize the contractor’s workload. Installers only need to submit a drawing or print of the concrete countertop and the region of the surface where the heat is wanted.

The countertop pairs well with the dark wood island cabinet.
Technological Advancement Of Heated Countertops
The latest generation of heating mats is revolutionary in four ways:
- The resistive coil is built of thin, highly ductile foil instead of thick circular wire. The entire thickness of the countertop heating mat, including the encapsulated high-performance plastic films, is less than 25 thousandths of an inch, with a foil thickness of 1.5 thousandths of an inch.
This method produces an extremely compliant material that can withstand hundreds of pounds of compression. Because the pads are so thin, they can be mounted directly to the concrete under an overhang without the substrate going all the way to the edge. The pad’s thinness also makes it inconspicuous.
Thermal results are uniform and constant when using foil-based heaters with thin foil and resistive patterns as near as .100 widths and spacing.
- The mats can be made in any shape or size to match the countertop or cabinet design. They are typically not large enough to cover the full counter. Rather, they are put in specific spots, such as where people lay their arms.
Heating mats are made in about a week.
- The new heating pads run on low voltage (12-24 volt DC) and are powered by household power transformers that plug into normal outlets.
This eliminates the requirement for a dedicated power line for contractors. The heater can be plugged into an existing outlet in the island or countertop area. A large mat’s maximum current draw is two amps. Smaller mats use less electricity.
- The thermal control of heating mats differs from floor heating. When the heaters are hooked into an outlet, they produce enough thermal output to increase the concrete to a height temperature of skin temperature, around 95 degrees F—resulting in the surface no longer feeling cold.
The amount of thermal rise is set and is built into the heater at the factory. In a closed-loop control method, this eliminates the requirement for a sensor. Instead, manufacturers include a simple electronic controller that allows homeowners to lower the temperature if they want a cooler surface.
The technique is straightforward because these new generation heaters are intended for aftermarket homeowners and contractor installation. Contractors simply attach two cords, and the unit is ready to use. The cables are constructed so that they cannot be joined wrongly.

The eat-in kitchen island looks functional and stylish.
Three Primary Installation Types For Heated Countertops
Despite a vast range of bespoke countertop and cabinet designs, concrete countertop heating pad manufacturers generally take two fundamental approaches when building the pad. For concrete counter fabricators who want to include the heater into the wet concrete, there is a third method.
- No overhangs/full substrate: Installing heating mats on concrete counters with no overhangs, such as islands, will be relatively simple for contractors. Prefabricated concrete countertops in these applications rest on a substrate that covers the full area where the concrete is put. Heaters will be placed in a matter of minutes.
The installer’s only preparation is to drill a 3/4-inch hole through the substrate into the cupboard where the outlet is placed. A tiny tail from the heater spirals down into the hole, preventing the formation of a hump or elevated area. The connection from this tail is then connected to the controller or transformer located inside the cabinet.
The heater is then rolled out onto the substrate, and its tail is inserted into the hole.
The concrete can then be poured immediately on top of the heater. The heater’s material construction is strong enough to withstand the weight of the concrete.
- Overhangs and cabinets without substrates: Heating mats are manufactured with an additional protective layer and pressure-sensitive adhesive tape on the back for applications with overhangs.
The heater is permanently affixed to the underside of the concrete and will remain there. These heater designs also include a tight seal to prevent liquids from escaping into the heater’s body if something is spilled on the tabletop.
There are a few more measures for the contractor to take when installing a heater with a countertop overhang.
The first step is to establish if the heater may be fitted after the concrete has been placed on the cabinet or if it must be mounted onto the concrete before it is placed. Either way is OK.
To improve bonding, a preliminary coating must be put to the underside of the concrete countertop. This coating protects the molecular surface and gives the heater great adhesion. This is a two-part epoxy coating that may be brushed or rolled on and dries to a durable finish in 30-45 minutes.
The release liner is removed, and the heater is secured to the concrete overhang about 1/2 inch away from the outer sides. This area must be cleansed to avoid creases or huge bubbles across the heater body. Depending on the size & shape of the heater, this can take anywhere from 30 seconds to five minutes.
If the heater is added after the concrete has been applied to the cabinet, or if it is an aftermarket installation, it may have cut-outs or distinctive shapes to fit corbels, supports, or other cabinet elements.
Following the installation of the heater, a 3/4-inch hole is drilled into the cabinet under the overhang. The cord is inserted into the hole for a professional appearance, and a little plug is fastened around the wire.
- Integrating the heater into the concrete during the pour: A third alternative is to incorporate the heating pad into the concrete when the top is constructed. The heating pads are constructed from materials that can tolerate the acids, water content, and other chemicals found in wet concrete. Some contractors choose to submerge the heating pad while the concrete is partially poured into the form, then cover it with more wet concrete.
This method necessitates a somewhat adapted heater with a well-protected electrical cord against the rigors of handling and chemicals.

The rattan chairs give a bit of texture when paired with the smooth countertop.
Hookup And Controller
Connecting the electronics is the final step in completing the heater installation for both an overhang and a non-overhang application. This is a straightforward procedure. While the heater can be put directly into a low-voltage power supply, most customers prefer a controller that allows them to adjust the temperature.
Installers use two screws to secure the cabinet’s side wall controller in a selected location. The transformer is then secured to the controller with the included straps and screws.
Finally, the heater is connected to the controller, which is connected to the transformer, which is connected to the outlet.

All the elements in this room make it classic and classy at the same time.
The Finishing Touches
Contractors should be warned that because these new-generation heaters designed exclusively for heated granite countertops are low voltage, they do not aggressively accelerate concrete heating.
After installation and powering up, it may take 60-90 minutes for the surface to achieve its stable temperature of roughly 95 degrees F. This gradual warm-up ensures that no thermal shock is delivered into the concrete, reducing the chance of cracking.
The heaters are available in both custom-designed and standard rectangular designs. They are typically priced per square foot and begin as low as $250 for smaller basic heaters, including the thermal control unit.