Featured Image Source: Sebring Design Build
Check out these tile edge trim ideas for your next bathroom or kitchen remodeling project. It might seem like it’s a small detail, but tile edge trim ideas can make or break an entire bathroom or kitchen design.
Complete your bathroom tile project with a stylish accent by selecting the ideal trim tile, border, or edging. This method is a critical step because it softens the raw edges of tile walls and floors to guarantee appropriate installation. In addition, it gives a high-end designer impact to the overall look of your bathroom. Most tile shop provides a wide variety of colors, designs, and textures that can perfectly complement your next remodeling project.
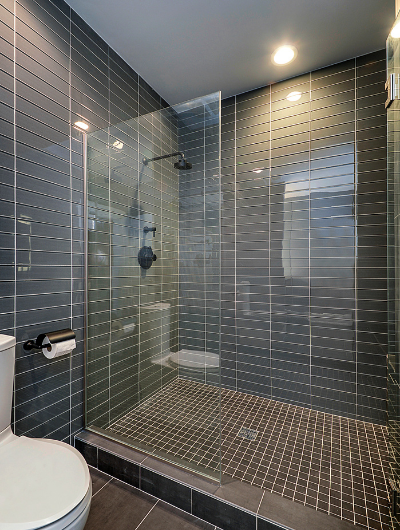
SLEEK
Do you want to create an upscale and fashionable atmosphere in your bathroom? The dark gray tiles amplify the modern and chic vibe. The checkered design gives it a cutting-edge, elaborate appearance. Sebring Design Build outdid themselves with this one.
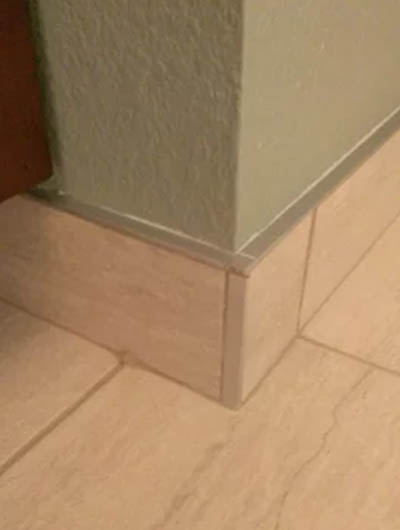
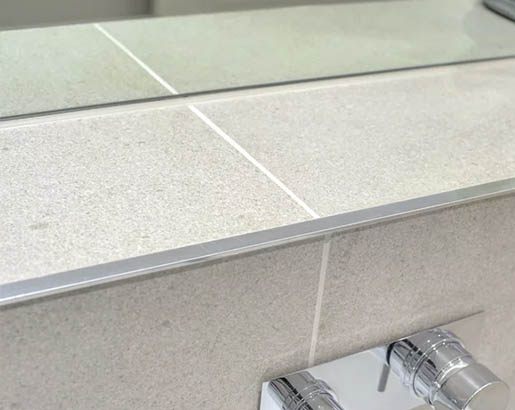
SATIN ALUMINUM
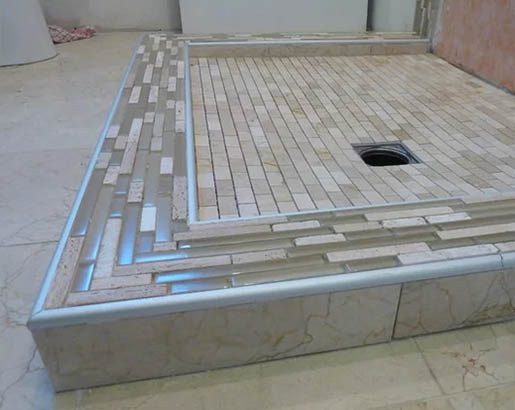
This is not like the other boring restrooms I’ve seen. Edge trim made of satin metal profiles looks great on the tile. Everything looks neat and organized now. Custom Surface Solutions nailed it with this tile pattern.
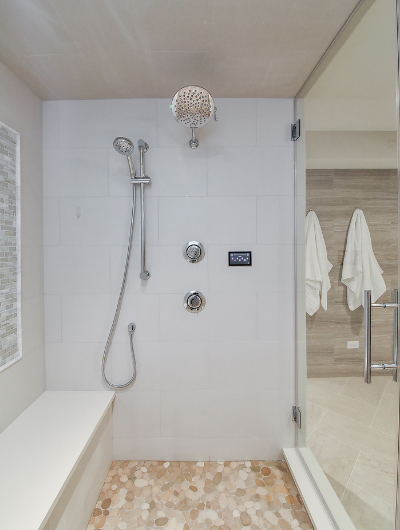
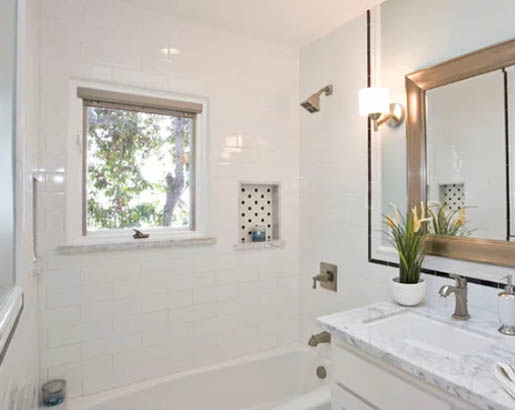
METAL TRIM
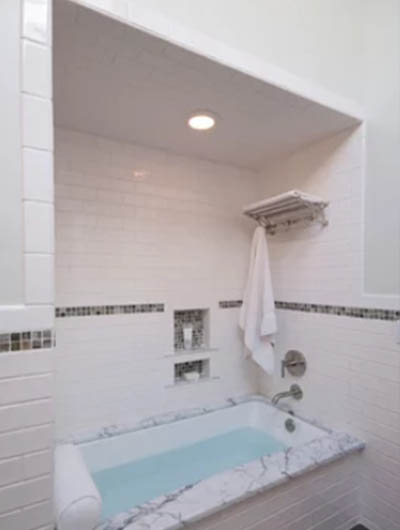
Are you interested in creating a highly sophisticated bathroom with a white color scheme? This one will make you appear neat and put not only together but also incredibly affluent. Those edges are gorgeous. They pair particularly well with glass mosaics. The Hills Group is responsible for the design of this metal-accented bathroom.
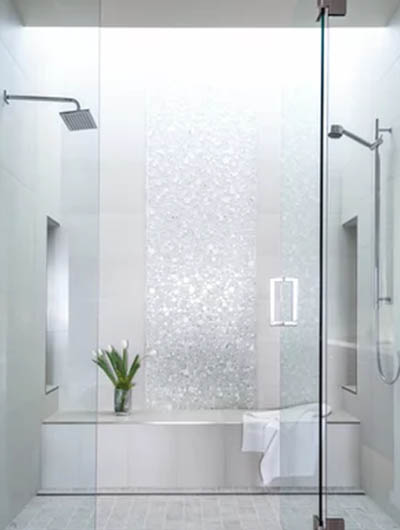
SHOWER NICHE TRIM
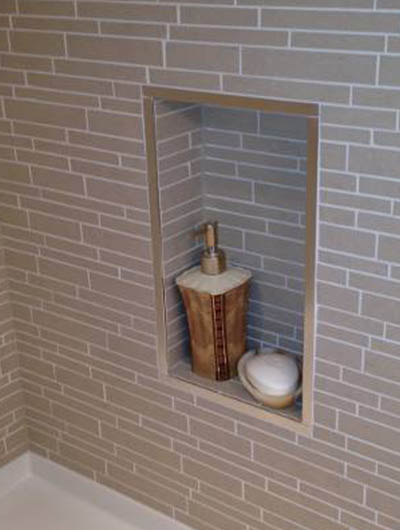
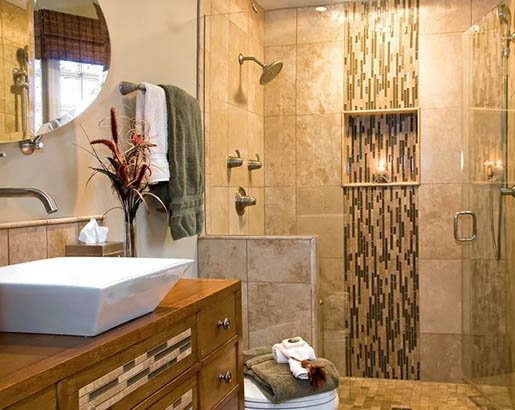
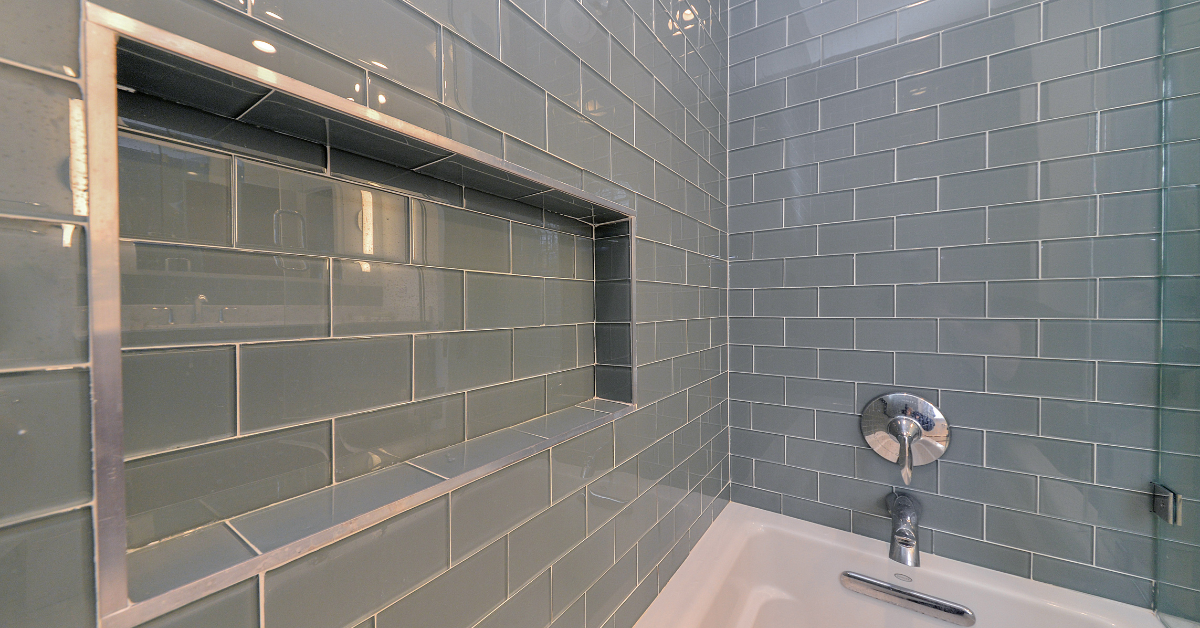
This tile edge trim is affixed to the tile with precision and efficiency. It’s a guaranteed hit with everyone. A nice-looking niche on the wall is perfect for storing shower accessories. This clever layout by Redblock Industries makes great use of the available area.
WHITE ROUND EDGE PVC
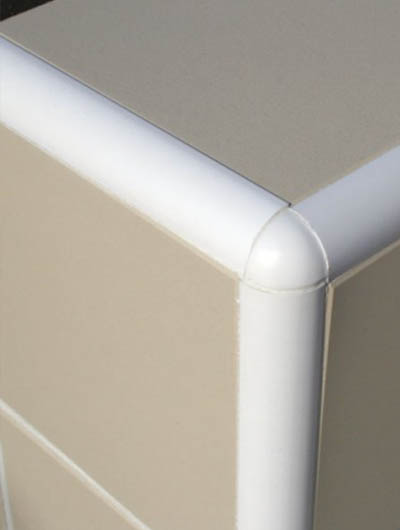
Occasionally, people will not want metal trimmings installed in their homes or businesses because they feel it gives off an unsafe vibe. Metal trims aren’t for everyone, but PVC trims are a great alternative. The white, rounded PVC edges on this Tiles UK design ensure the floor is secure for everyone.
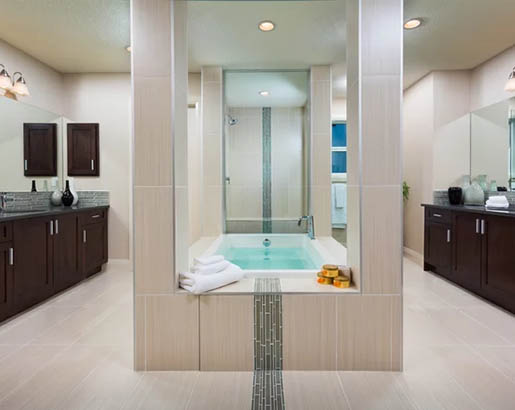
MITERING
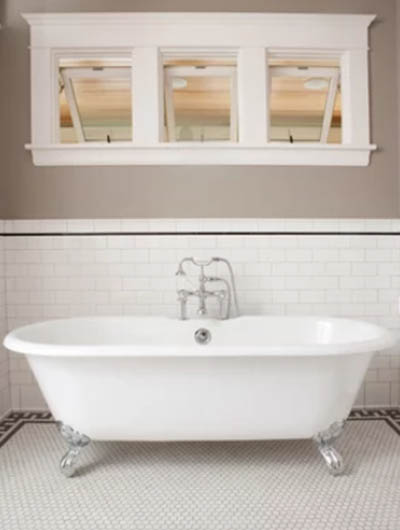
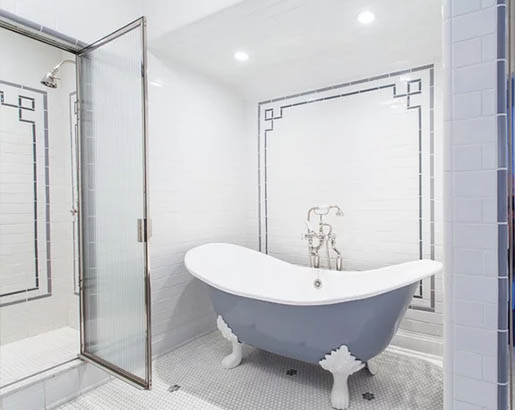
Do you wish you had a bathtub like the ones at five-star hotels? This tub is so soothing that you may never want to get out of it. The tiles seem more polished and professional when their edges are mitered. McC | Architecture pllc has created a stunning bathroom design.
GLASS ENCLOSURE
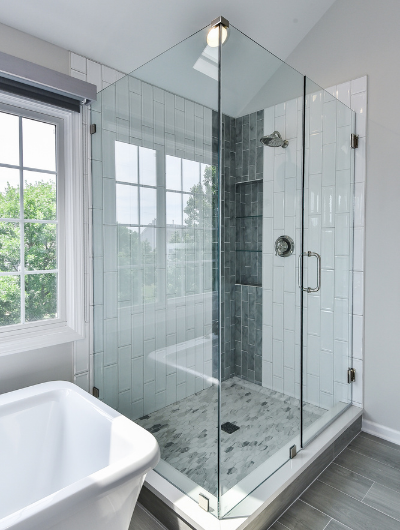
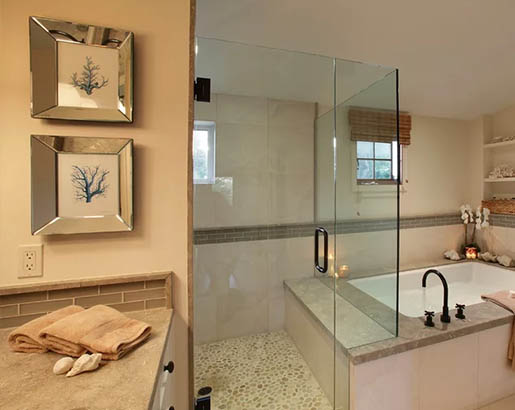
This modern and energizing bathroom creates a beautiful enclosure by installing vertical wall tiles. The natural light from the windows allows for an organic atmosphere. I like the glass shower door—yet another work of art by Sebring Design Build.
SHADES OF GRAY
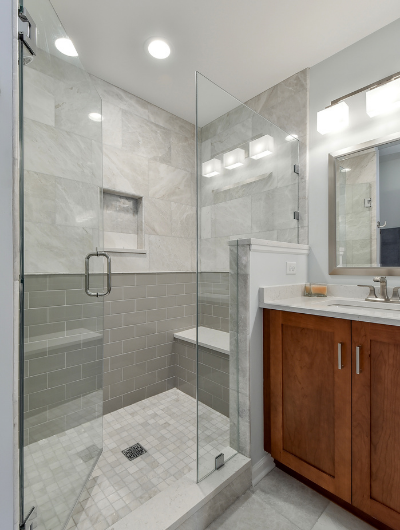
The use of varying shades of gray may create an inviting atmosphere. The variety of gray tiles used here gives the bathroom a unique feel. Thanks to its wonderful simplicity, you may expect to feel calm and at ease. Sebring Design Build has accomplished another stunning feat.
UNGLAZED EDGE
Here we see the use of bullnose trim to provide a smooth transition between tiles of varying sizes and colors—the floor’s creative vibe results from the wide range of tile options. There are several attractive tile patterns on the wall. Clay Squared to Infinity outdid themselves with this one.
RAW EDGES
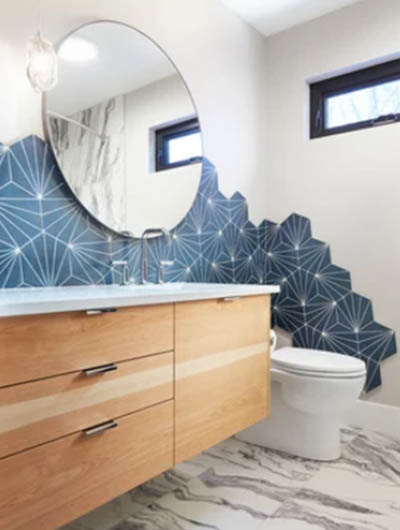
Woah, talk about a one-of-a-kind toilet! The wall is tiled in a soft blue color in this lavatory with a white geometric pattern. Instead of being trimmed, the edges of the tiles are painted to match the rest of the tiles. The floor is made of marble tiles, which look great. What a very clever idea by AMR Interior Design & Drafting Ltd.
MANUFACTURED
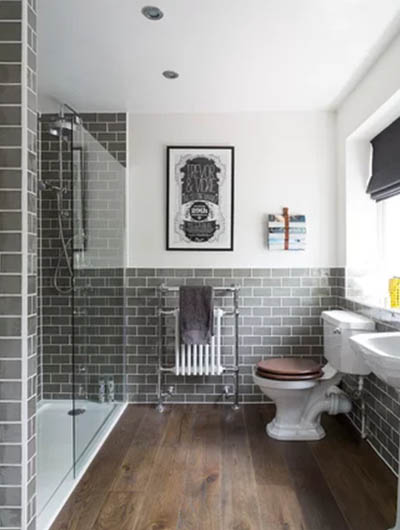
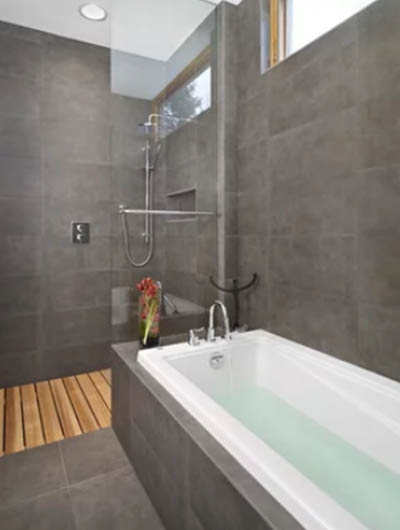
Astonishingly, these tiles did not include either a bullnose or a mitered edge. Tiles have these machined edges on all four sides. Besides being functional, gray tiles are also aesthetically pleasing. The hardwood floor in the shower is a nice touch. What a very clever design by thirdstone inc. [^].
TRIM PIECES
Do you wish you had a bathroom that could double as a spa? Using layered trim pieces like this, you may smoothly go from one tiled surface to another. Ashton Woods has created a design where every element fits together seamlessly.
Why Tile Edge Trim Is Important
After putting a lot of thought into a bathroom’s vintage tile design, numerous property owners neglect how basic it is to finish the edges of their tile project appropriately. By removing the exposed edges, trim relaxes the transition where your tile ends, adding a high-end look and successfully outlining your tile installation. But trim pieces are also a critical design highlight. Layering trim tiles can lift the whole design, complement a particular feature, and create interest and individuality. These borders, trims, and highlight tiles can seamlessly blend into your design, stand out, or highlight another feature within the space by rehashing a finish or material. Take note of how the subtle elements of your project can affect the look and feel of the bathroom.
It’s imperative to ensure that you’re finishing your wall and backsplash tile at the proper spot since installing tile where the edge is obvious will leave your project looking unfinished. A smooth, rounded bullnose edge could be an incredible way to provide your bathroom a clean finish and streamlined look. Because it is far less likely to chip or break, bullnoses include increased durability to your tiled areas. Utilized at the top of a shower wall or kitchen backsplash, rounded tiles can give a smooth transition and a clean, polished look. Trim can also add framing effects, curve highlights, or special finishing focuses like chair rail molding to your wall. Add style to your space by finishing with skirting at the floor at wainscot height. From marble stones to ceramic, these pieces come in a vast assortment of finishes.
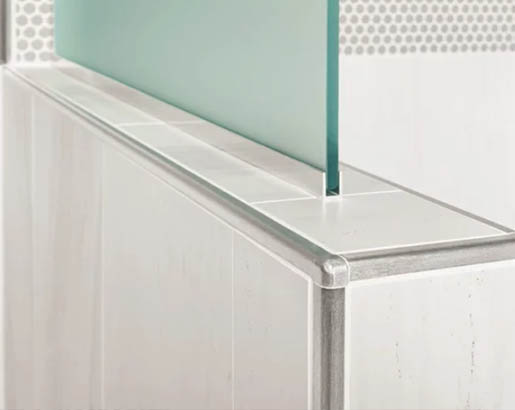
ROUND STAINLESS
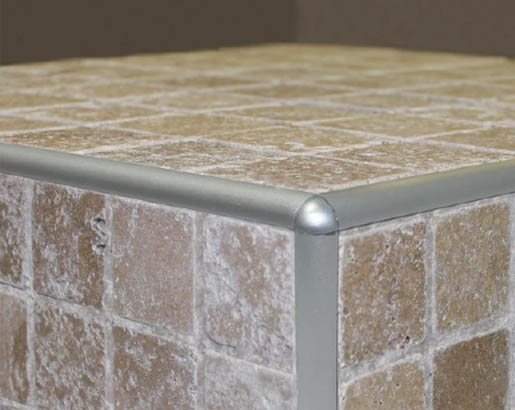
Metal edge trims are a common source of frustration in public restrooms, but this one is different. This rounded edge effectively prevents the tile from being chipped. Injuries are avoided, making the bathroom an extremely secure place. Emser Tile created this modern lavatory with a rounded stainless tile edge.
BULLNOSE TILE
This lovely, fully-equipped bathroom exudes timeless elegance and provides all the essentials for a relaxing bathing experience. With a bespoke bullnose, you can ensure that the color and material of the edges of your tiles match the rest of the tiles in your installation. I’m impressed by Traditional Bathroom’s layout.
Other Advantages of Tile Edge Trim
Tile edge trim ideas are not just for your vertical tile installation—don’t disregard to finish your project by successfully framing out your floor design. While the larger part of the floor can be one tile, consider bordering the room with a differentiating shape or design. To guarantee a smooth move from one space to the next, you should introduce threshold pieces, which are available in natural stone or an assortment of metal finishes. In addition to making a modern look, edging your floors will make them much less demanding to clean and maintain.
A combination of materials can be used for edging purposes to make a rich sense of profundity in your room. Get imaginative with contrast by pairing ceramic tile edge trim and glass or introducing glass tile with stone highlights. Natural stones, like granite, marble, and travertine, can be polished so that the edges look finished. Pencil wall tile could be a classic emphasize piece that helps produce an even tone for simple matching. Tile edge trim metal is a quickly growing trend that’s available in a wide cluster of styles and finishes. Utilize metal trim in your bathroom to form a clean and modern transition to another surface that also matches the finish of your shower head or sink faucet. In the event that you’re installing subway tile, turn your tile vertically to make a defined edge at the top or border.
SUBTLE TRIM
Want a bathroom that appears as if it belongs in a castle, complete with delicate finishing touches? Take a look at this luxurious bathroom that JAR Corp. designed for you. Tiles on the walls and floor may be seamlessly transitioned with the help of the slight trim.
SKIRTING
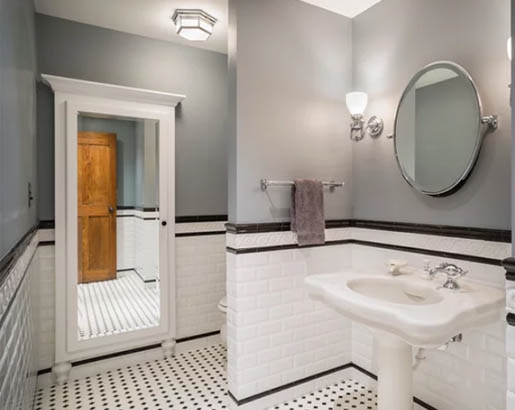
When the bathroom’s design matches the rest of the home, it might make you feel like you’re in a real castle. Aside from the standard fixtures, the bathroom is distinguished by its white tiles. An elegant finishing touch to this bathroom is the tile skirting—beautiful architecture by CHC Design-Build.
BRUSHED CHROME
Schluter Systems can provide customers with this brushed chrome edge protection. Schluter tile edge trim is available in profiles made of chrome-plated solid brass, stainless steel, color-coated aluminum, anodized aluminum, and PVC. What a lovely and intricately crafted design Schluter Systems has created.
What Are The Different Trim Options
There are four primary types of tile edge trim that can be utilized to finish the edge of your tiling installations. These include stone trims, porcelain or ceramic trim tiles, as well as plastic and metal trims. These come in different setups depending on the product and their use, but the metal tile trims (metal tile edging) and stone trims are the most well-known types.
- Stone Tile Edge Trim Ideas
If you’re not interested in employing a standard tile edge trim profile, you can utilize genuine or engineered stone instead. This is one of the fastest-growing tile edge trim ideas, rapidly uprooting the standard tile edging options.
The stone material is very thick (a choice of either 2cm or 3cm thickness) so it provides the opportunity to make a finished trim by cleaning the exterior facing edge.
The drawback is that it can be generally more costly than a standard tile edge trim installation due to the steep cost of the material and fabrication.
You should also remember that these sorts of stone installations require exact measurements and a skilled stone fabricator to cut and polish the stone pieces.
- Ceramic Tile Edge Trims Ideas
Ceramic tile edge trims can have a finished square edge, or usually a bigger radius bullnose edge. These sorts of tile edging were common in modern designs during the 1980s and early ’90s but are not prevalent in today’s modern bathroom plans.
There are a few one of a kind modern trim tiles available nowadays, but they are generally special order products and for the most part very costly.
In contrast, it is prevalent to see these tiles in more conventional design plans these days.
- Metal And Plastic Tile Edge Trim Ideas
Metal tile trims and plastic tile edge trims come in several profile shapes and colors, but plastic is the least well known of this bunch since they don’t stand up well to abrasion.
The metal tile edging is by-far the most common trims utilized in most mid-cost and higher-end renovations. They are perfect for high abrasion ranges such as floors but have also become a standard in most shower wall tiling installations.
STONE EDGING
Thomas Development
The use of glass and natural stone makes this bathroom totally awesome.
How To Choose & Install Tile Edge Trim
A finished tile edge will provide your tiled area a professional touch. This section will teach you how to install tile edge trim. Although you can always utilize a regular bullnose trim, there are lots of other choices as well, including wood and metal. With the proper trim, you’ll be able to create all sorts of looks, from classic and seamless, to striking and modern. Installing a trim is simple, and once you know the essentials, you’ll take your project to the next level.
First, choose what type of trim you need. For a consistent look, coordinate the trim to the rest of your tiles. For instance, if you utilized white porcelain tiles, get white porcelain bullnose tiles. In the event that you need something bolder, try tiles in a differentiating color or a distinctive material, such as metal or wood. Caulking around the edges is another alternative.
Next, ensure that the thickness of your trim matches the tiles. You need the trim to be the same thickness as your tiles—almost all the time. The one exemption to this are rail liners and moldings, which are needed to be raised. Utilize a ruler to measure your tile’s thickness in inches or millimeters. If you’re unable to find trim tiles in the right depth, try to go for special order, or utilize an alternative like rail liners.
Before you commit to anything, test how the trim looks. Bring your tile to the store, and hold it up side by side with the trim pieces that you like. In case you’re requesting online, see if the store provides free samples. If the trim does work out, place your order, and purchase based on how much you need for your project.
For our next step, find out how many trim tiles you need. In case the trim tiles are the same length as the edge tiles, count the number of tiles along the edge, then purchase the needed trim tiles. In case your trim tiles are bigger or smaller than the tiles along your edge, measure the edge of your tiled surface, then divide that number by the width of your desired trim tile. For example, the edge you’ll be trimming is 190 inches long. The trim tiles that you want are 5 inches long. 190 divided by 5 = 38 tiles. If the number isn’t a whole number (i.e., 38.5), round up.
Purchase additional trim tiles when buying. Tiles may break amid the installation method. Spare yourself a few inconveniences, and purchase some more tiles than you require for your project. In case you end up with tiles left over after you finish your project, you can return them or keep them for repairs.
Skip the trim if you’re utilizing glass tiles to save time and cash. Glass tiles will often have a cut and an uncut edge. Once you are installing glass tiles, put them in a way that the cut edges are touching each other or a cabinet. Keep the smooth, uncut edges on the outside for a natural trim.
Make room for the trim when installing your tiles. This is particularly critical in case you’re installing tiles that have something next to or over them, such as a kitchen backsplash underneath a cabinet or window sill. Begin at the bottom of your project and work your way up. This way, if the last row of tiles is too tall, you may be able to cut them shorter.
Install the trim after you have completed grouting your tiles. Prepare the grout based on package instructions. Attach the trim pieces to your wall or counter with tile glue or grout. Fill the spaces between the tiles with more grout, then wipe the excess grout off with a wet sponge.
This is an image roundup post, curated to showcase and promote other reputable contracting companies’ and their amazing work. To have any of the images removed, please reach out to us and we would be happy to do so.

