Featured Image Source: Denise Quade Design
Regardless of the floor tile patterns you have in mind, tile flooring is a smart approach to add style to your home. The assortment of designs and materials available in tile floor patterns means it is easier and simpler than ever to make your home more stylish and unique. Moreover, floor tile layout patterns are more sturdy and durable than carpet and wood. Thus, floor tile design patterns are a smart approach that accomplishes a timeless, classic, and stylish look in any room. Whether you want a basic grid pattern or are prepared to make a fashionable statement under your feet, the appropriate floor tile pattern ideas can be a distinct advantage in any room. In order to assist you with conceptualizing a floor makeover, we gathered floor tile pattern ideas that you will surely love.
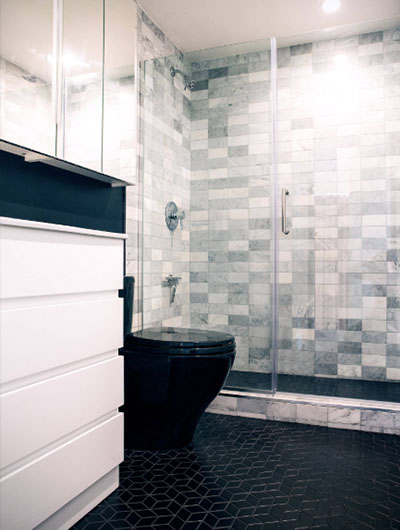
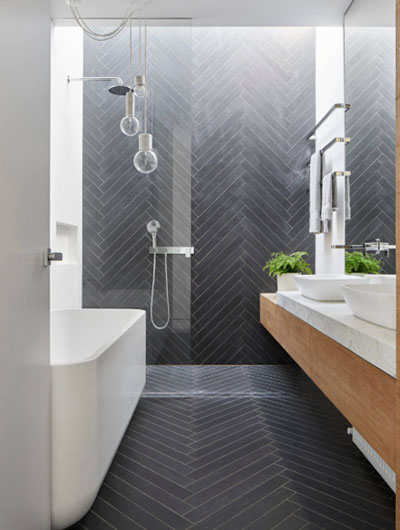
BLACK TILE
Everything in this bathroom design, which includes a nice floor tile and wall tile pattern, looks great. The bathroom design by Tiny Monster Design is excellent and modern. The flooring in the contemporary bathroom is black diagonal tile.
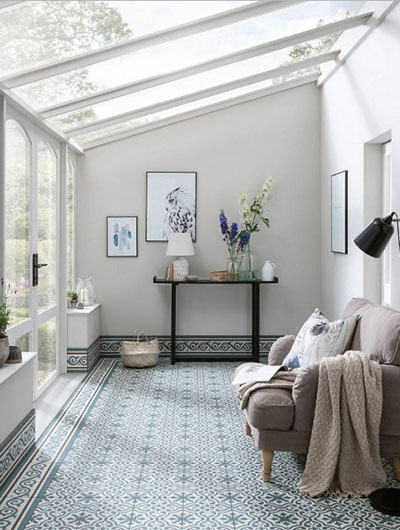
ENCAUSTIC TILE
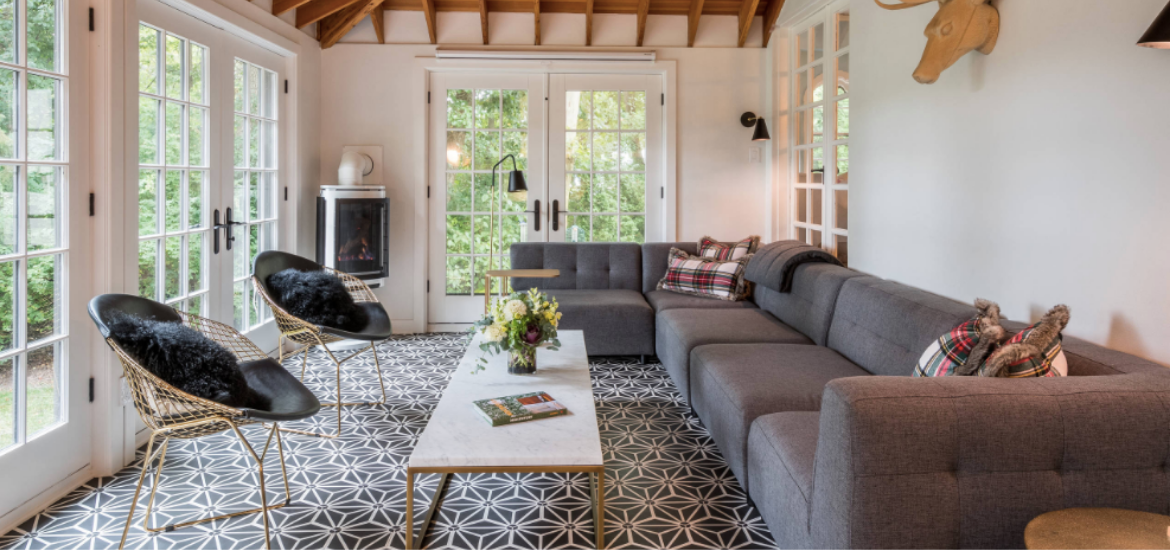
The light living room design creates a cozy atmosphere, and everything appears natural. Excellent interior design by Topps Tiles. This classic Victorian sunroom features encaustic tiles in the design Berkeley Slate Blue.
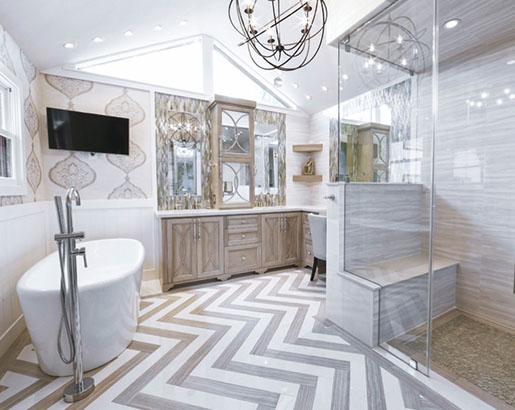
CHEVRON
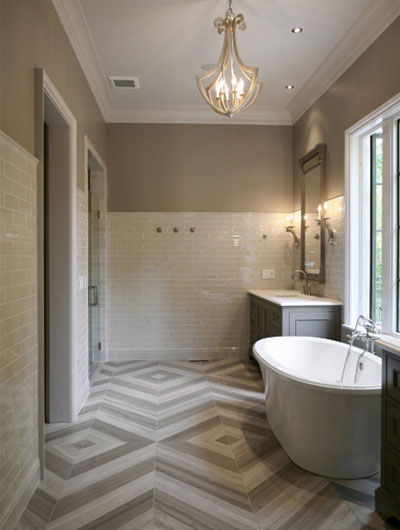
Everything appears warm and cheerful in this bathroom’s light brown and white theme design. Sweetlake Interior Design LLC did a fantastic job with the bathroom design. The porcelain floor was cut into 4 x 24 strips to make the chevron pattern on the floor.
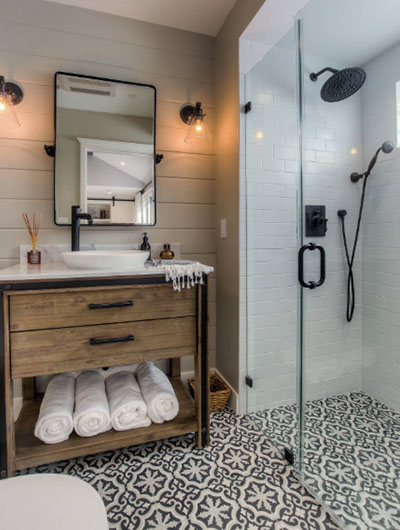
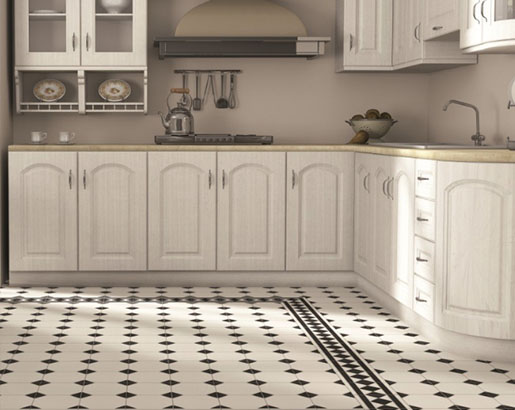
BLACK & WHITE
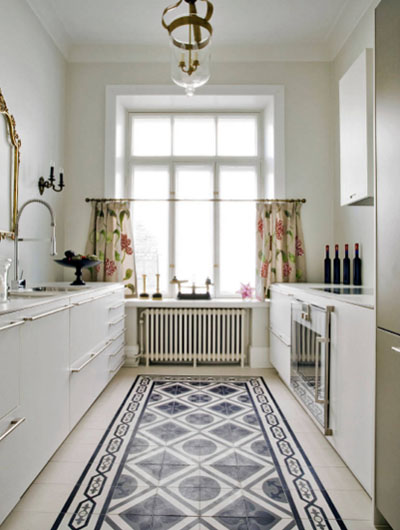
This kitchen has a nice layout and a tidy appearance. Everything in this kitchen design from Direct Tile Warehouse seems nice and classic. Elegant options for your house include Regent black and white floor tile designs.
Once you have decided on a pattern, it is time to kick off your project by laying out your tile floor patterns. In fact, knowing how to lay out tile floor patterns will certainly save you time and stress later on.
When you’re assessing the amount of tile you will require for your project, include around 10 percent more tile to your cart. You will eventually end up wasting at least two or three tiles through the installation. Thus, you might need to keep a couple more tiles available for future fixes.
In case you are replacing existing tile or another kind of flooring, you’ll have to get rid of it totally, leaving just the subfloor. Since tile is a lot heavier than other kinds sorts of flooring, you’ll have to include an extra steady layer on top of the subfloor. This is particularly true if the subfloor is wooden. Adhere to the manufacturer’s directions to secure the cement backer board into place, and then you’ll be prepared to tile.
Finally, as long as you have extra time to work and a couple of instruments and supplies close by, laying 12×24 floor tile patterns is a DIY venture that you can pull off. All things considered, here is a list of what you will need to carry on with this project:
-
- Tiles
- Tape measure
- Tile spacers
- Speed square
- Wet saw
- Pencil
- Thinset
- Notched trowel
- Rubber mallet
- Grout mix
- Cement backer board
- Grout and tile sealer
- Grout float
- Safety goggles
- Sponge
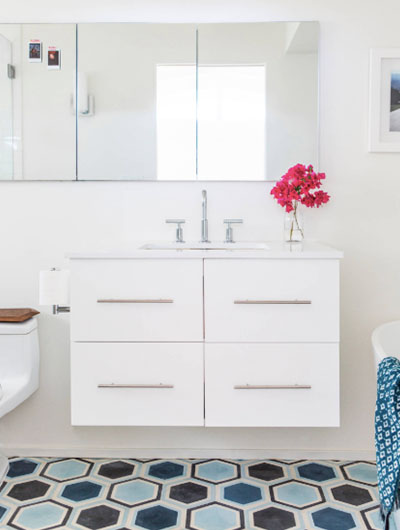
ALHAMBRA
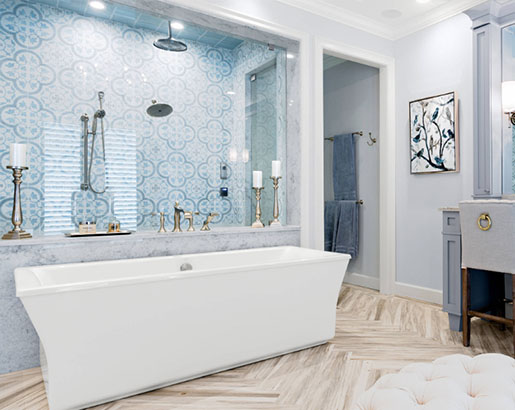
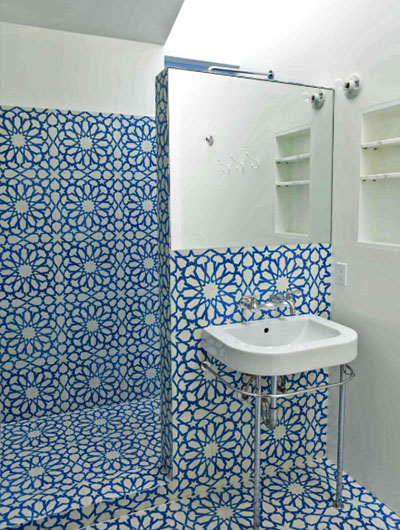
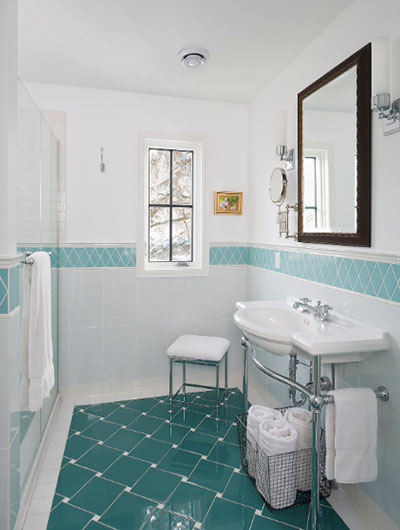
Everything in this bathroom design, which features a lot of blue tile on the wall and the ground, looks fantastic. This Granada Tile bathroom design has a highly modern aesthetic. You may enjoy clean, geometric beauty with the blue and white Alhambra design from Granada Tile.
How To Design Floor Tile Patterns
It’s important to realize that in installing floor tile patterns in your home, it’s critical to set aside time to discover the ideal approach to organize the individual tiles. In many rooms, square and rectangular tiles will fit together in a straightforward grid pattern. To start with, build up a series of layout lines as your placement guide by discovering the midpoint of each wall and marking a line over the opposite wall. After that, you can start dry-fitting the tiles around the room’s middle point, working your way outward in sections to prevent uneven spacing.
Grid Pattern
The most well-known method for laying out square or rectangular floor tiles is in a basic grid pattern. Based upon the size of your tiles and the room, this can be cost-efficient and simple to apply a layout, since you might not need to cut tiles or experience wastage.
This is one of the ideal rectangle tile floor patterns in case you are utilizing encaustic concrete tiles that have their own pattern; or in the event that you don’t wish to bring a lot of attention to the floor. This straightforward design can likewise be attractive if you want it to be. Moreover, you can effectively utilize contrasting grout to feature the pattern. Also, you can alternate tile colors to make a further layer of pattern to include additional accents to your grid pattern.
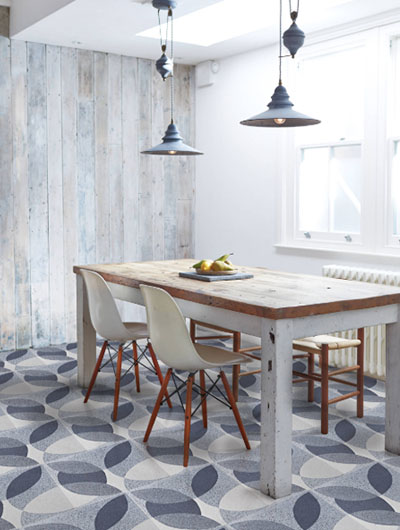
SCANDINAVIAN
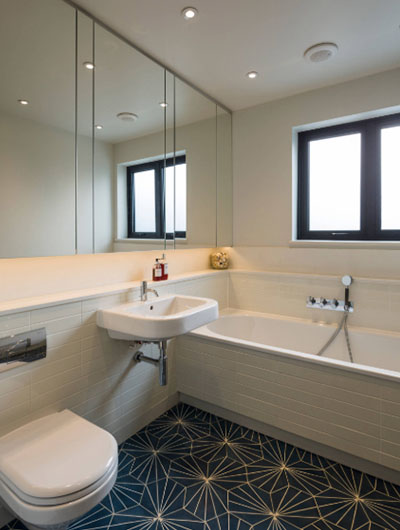
The white motif and patterned floor tiles in this traditional bathroom design make everything appear fantastic. That bathroom design by Jones Associates Architects is amazing. Cement tiles by Marrakech Design with a blue “Dandelion” motif.
LINEAR PATTERN
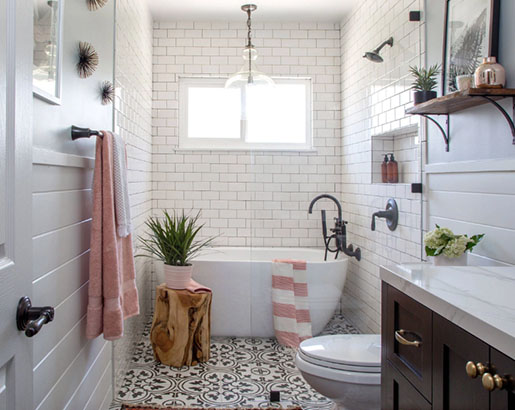
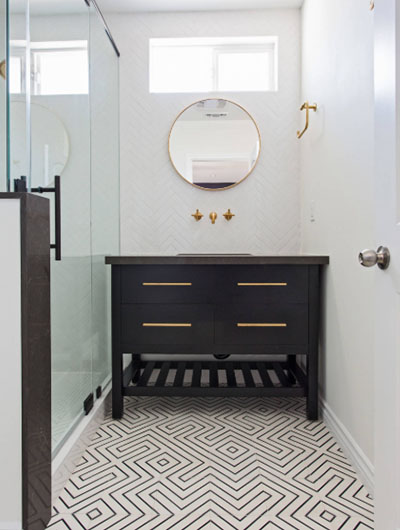
In this small bathroom with a linear theme, everything looks fantastic. This bathroom design by Metropolis Drafting and Construction Inc. is gorgeous. You may make a “Labyrinth” pattern out of concrete tiles with a repeated design.
PICKETS
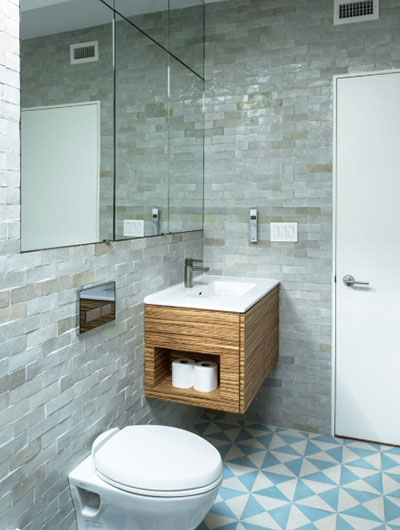
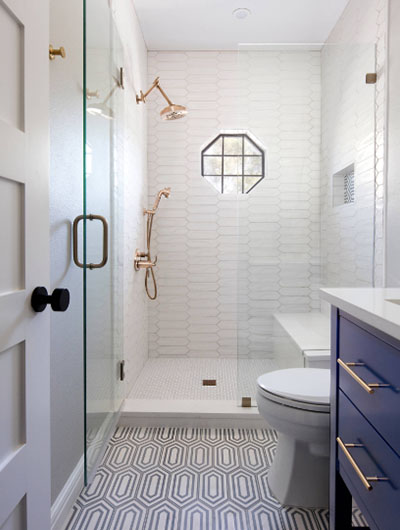
In this bathroom design by Etch Design Group, which features a nice bathroom cabinet and floor tiling, everything appears to be very tasteful and sophisticated. The same floor tiles are available from Lili Cement Tiles in their Tiffany series.
Offset & Harlequin Floor Tile Patterns
Offset pattern, also called Running Bond or Runner pattern, is additionally an easy tile pattern to consider. In fact, it’s like you are laying bricks. In general, this pattern should be possible with either square or rectangular tiles. First, lay the initial row of tiles and afterward, as opposed to running the next row directly under the first, offset the row so the edge of the tile beneath sits at the middle point of the one above.
The upside of this tile pattern is that it makes some additional texture that softens the overall look of the area. Besides, this is specifically useful for kitchen spaces where cupboard and appliance doors can look somewhat sharp and angular. Moreover, it is additionally an incredible floor tile pattern to use with wood-look ceramic planks, as it better emulates genuine wood floorboards.
Exclusively utilized with square tiles, the Harlequin pattern is essentially a grid pattern but set diagonally at 45° to the walls. What this does is to offer an illusion of a larger space, causing rooms to appear larger than they are. Furthermore, it is particularly helpful in areas that have unconventional shapes, as the tile pattern pulls center.
In general, the Harlequin tile pattern is most usually utilized with black and white tiles to make the classic checkerboard pattern but works similarly well with one single tile shading.
DIAMOND
With nice floor tiling, this bathroom design appears very energizing and peaceful. This bathroom was designed by Meriwether Inc. and looks quite bright and tidy. The floor tiles are from the Natural Hues line by Daltile.
Herringbone Pattern
A most loved pattern in the wood parquet flooring area (and one of our preferred floor tile patterns), the Herringbone tile pattern is getting popular among tile fans. In fact, this is to such an extent that there are increasingly rectangular and small plank style ceramic tiles available on the market nowadays. Notably, this striking pattern is created by laying interlocking rectangular tiles set at a 45° angle to the wall. In general, you can lay the pattern length-ways along the longest wall to augment the impact.
The Herringbone tile pattern will be increasingly apparent based upon the size and style of your tiles. In particular, plank-style tiles with a 3:1 proportion will make a crisper, increasingly characterized herringbone pattern specifically when coordinated with dark grout. On the other hand, brick-style tiles with a 2:1 proportion make a more subtle herringbone design. Finally, either choice results in a general look that will add interest and texture to your floor.
Chevron Pattern
Like the Herringbone tile pattern, the Chevron design also has a major spotlight in tile flooring at the moment. In general, this is partially because of its remarkable capacity to make any room look elegant in an instant! You will definitely know Chevron has a moment since tiles producers wherever are reinforcing their collections to incorporate the parallelogram tile shape that one needs for this pattern. In the event that you can’t find that shape in the tile you like, then you can cut rectangular tiles in order to fit the pattern—but be certain to utilize excellent tile cutters to do it correctly.
The Chevron tile pattern is essentially rows of parallelogram tiles, with each line facing the other way to the one next to it, making a V shape. In addition, the perfect way the tiles fit together, the sharp focal line where the V meets, and the textured zigzag horizontal pattern all work collectvely to make this tile design very chic. Furthermore, utilizing slightly differentiating tiles hues to define the zigzags subtly, or mixing block-color tiles with wood-look ones are excellent approaches to work this look.
Basketweave & Windwill Floor Tile Patterns
There’s a developing issue with this purportedly conventional tile pattern—everybody is doing various versions! Also, in its most simple structure, the Basketweave tile design is two block formed tiles set evenly against two brick-shaped tiles set vertically. Moreover, it’s a straightforward and simple tile pattern to accomplish and provides a textured field without a lot of effort.
To some degree, more labor-intensive and considerably more textured in appearance, the other Basketweave variant is where you install brick-shaped tiles in an interlocking pattern with smaller square tiles occupying the space in the middle. In case you like this rendition but need a simpler installation, some tile producers have mosaic Basketweave tiles already joined to backing mesh, so you don’t need to mess with the overly small square tiles.
One of the most-loved tile floor patterns, particularly in case you have some exceptional tiles to feature, the Windmill pattern is definitely great. Also made utilizing square and brick-sized tiles, the brick tiles structure a type of frame around the focal square tile. Although this pattern is challenging to lay, it gets faster once you get into the rhythm of the pattern. Furthermore, most mosaic tile creators are currently offering this pattern already backed on a mesh, which obviously makes it simpler.
On the other hand, utilizing the smaller mosaic Windmill variant results in a profoundly textured design that will pull attention in the room, so you can best utilize this with a plain or simple decor theme.
Hopscotch Pattern
Otherwise known as the Pinwheel pattern, the Hopscotch pattern is like the Windmill, although here you just utilize square tiles. In general, a small, square tile is encompassed by bigger square tiles. In addition, it is also possible to replace the single small square tile with four mosaic tiles.
Moreover, the general impact will base upon whether you decide to feature the tile pattern by utilizing differentiating highlight tiles for the small square or employ a similar tile all through to add texture to the visual field. In any case, it is an excellent tile pattern that suits many decor themes.
This is an image roundup post, curated to showcase and promote other reputable contracting companies’ and their amazing work. To have any of the images removed, please reach out to us and we would be happy to do so.

