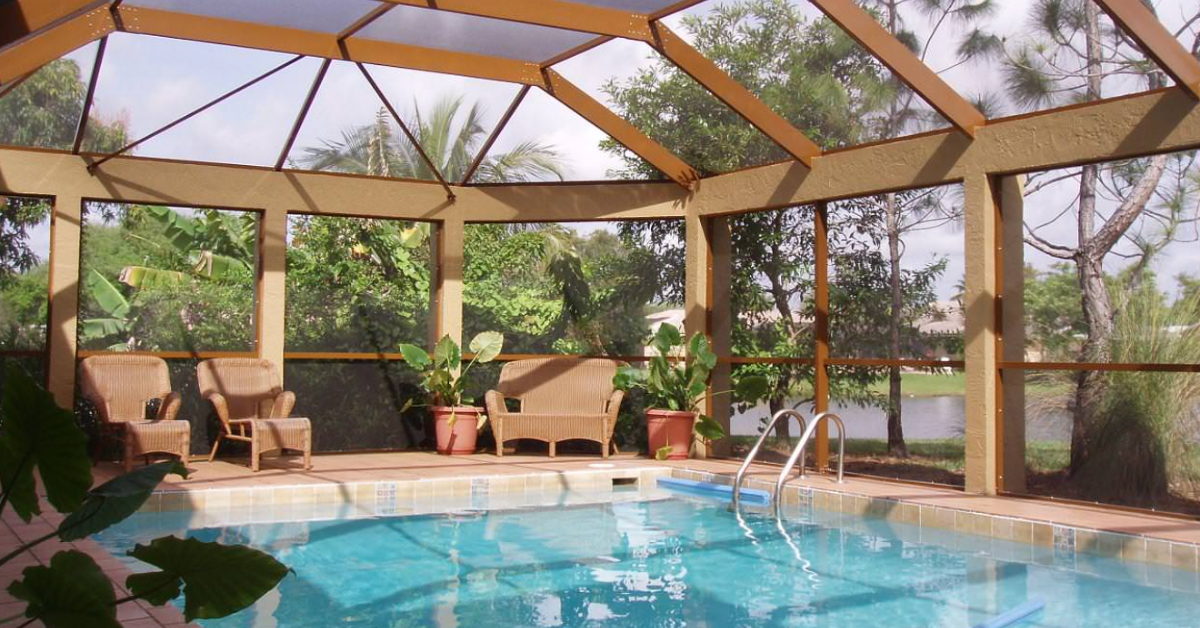
Featured Image: Coastal Screen and Rail
Thinking about remodeling your swimming pool, but don’t know where to start?
While it’s certainly true that remodeling involves a lot of budgeting and decisions, the truth is that there’s an easy, step-by-step guide on how you can do a pool remodeling project with as little stress and disruption of daily life as possible.
The end result will still achieve a high level of satisfaction on your part. Each requirement and pool need will be met as you go along. The best thing about it is that you’ll be so pleased that your backyard retreat is complete that you literally can’t wait to jump in and enjoy your remodeled pool!
Are you ready to get down to it? Let’s get started.
Pool Remodeling: The Beginning
To set expectations, contractors usually map out the estimated start time and completion time. But keep in mind that these are just estimates that could depend on several factors, events and circumstances. Like most construction, renovation or remodeling projects, there’s a whole lot of moving pieces that work together to achieve the common goal.
Pool remodeling experts work each day to bring you closer to a perfectly remodeled pool. In cases where something unexpected happens; i.e., delays, material changes, etc. the completion date is affected. Pool remodeling professionals try to anticipate these situations and have backup plans in case it happens. Understanding these things will invariably create a smoother work atmosphere for both contractors and homeowners. There’s less stress, less pressure and work gets completed much faster than expected! Check out rexgarden.com to know more about pool remodeling and salt water pool systems.
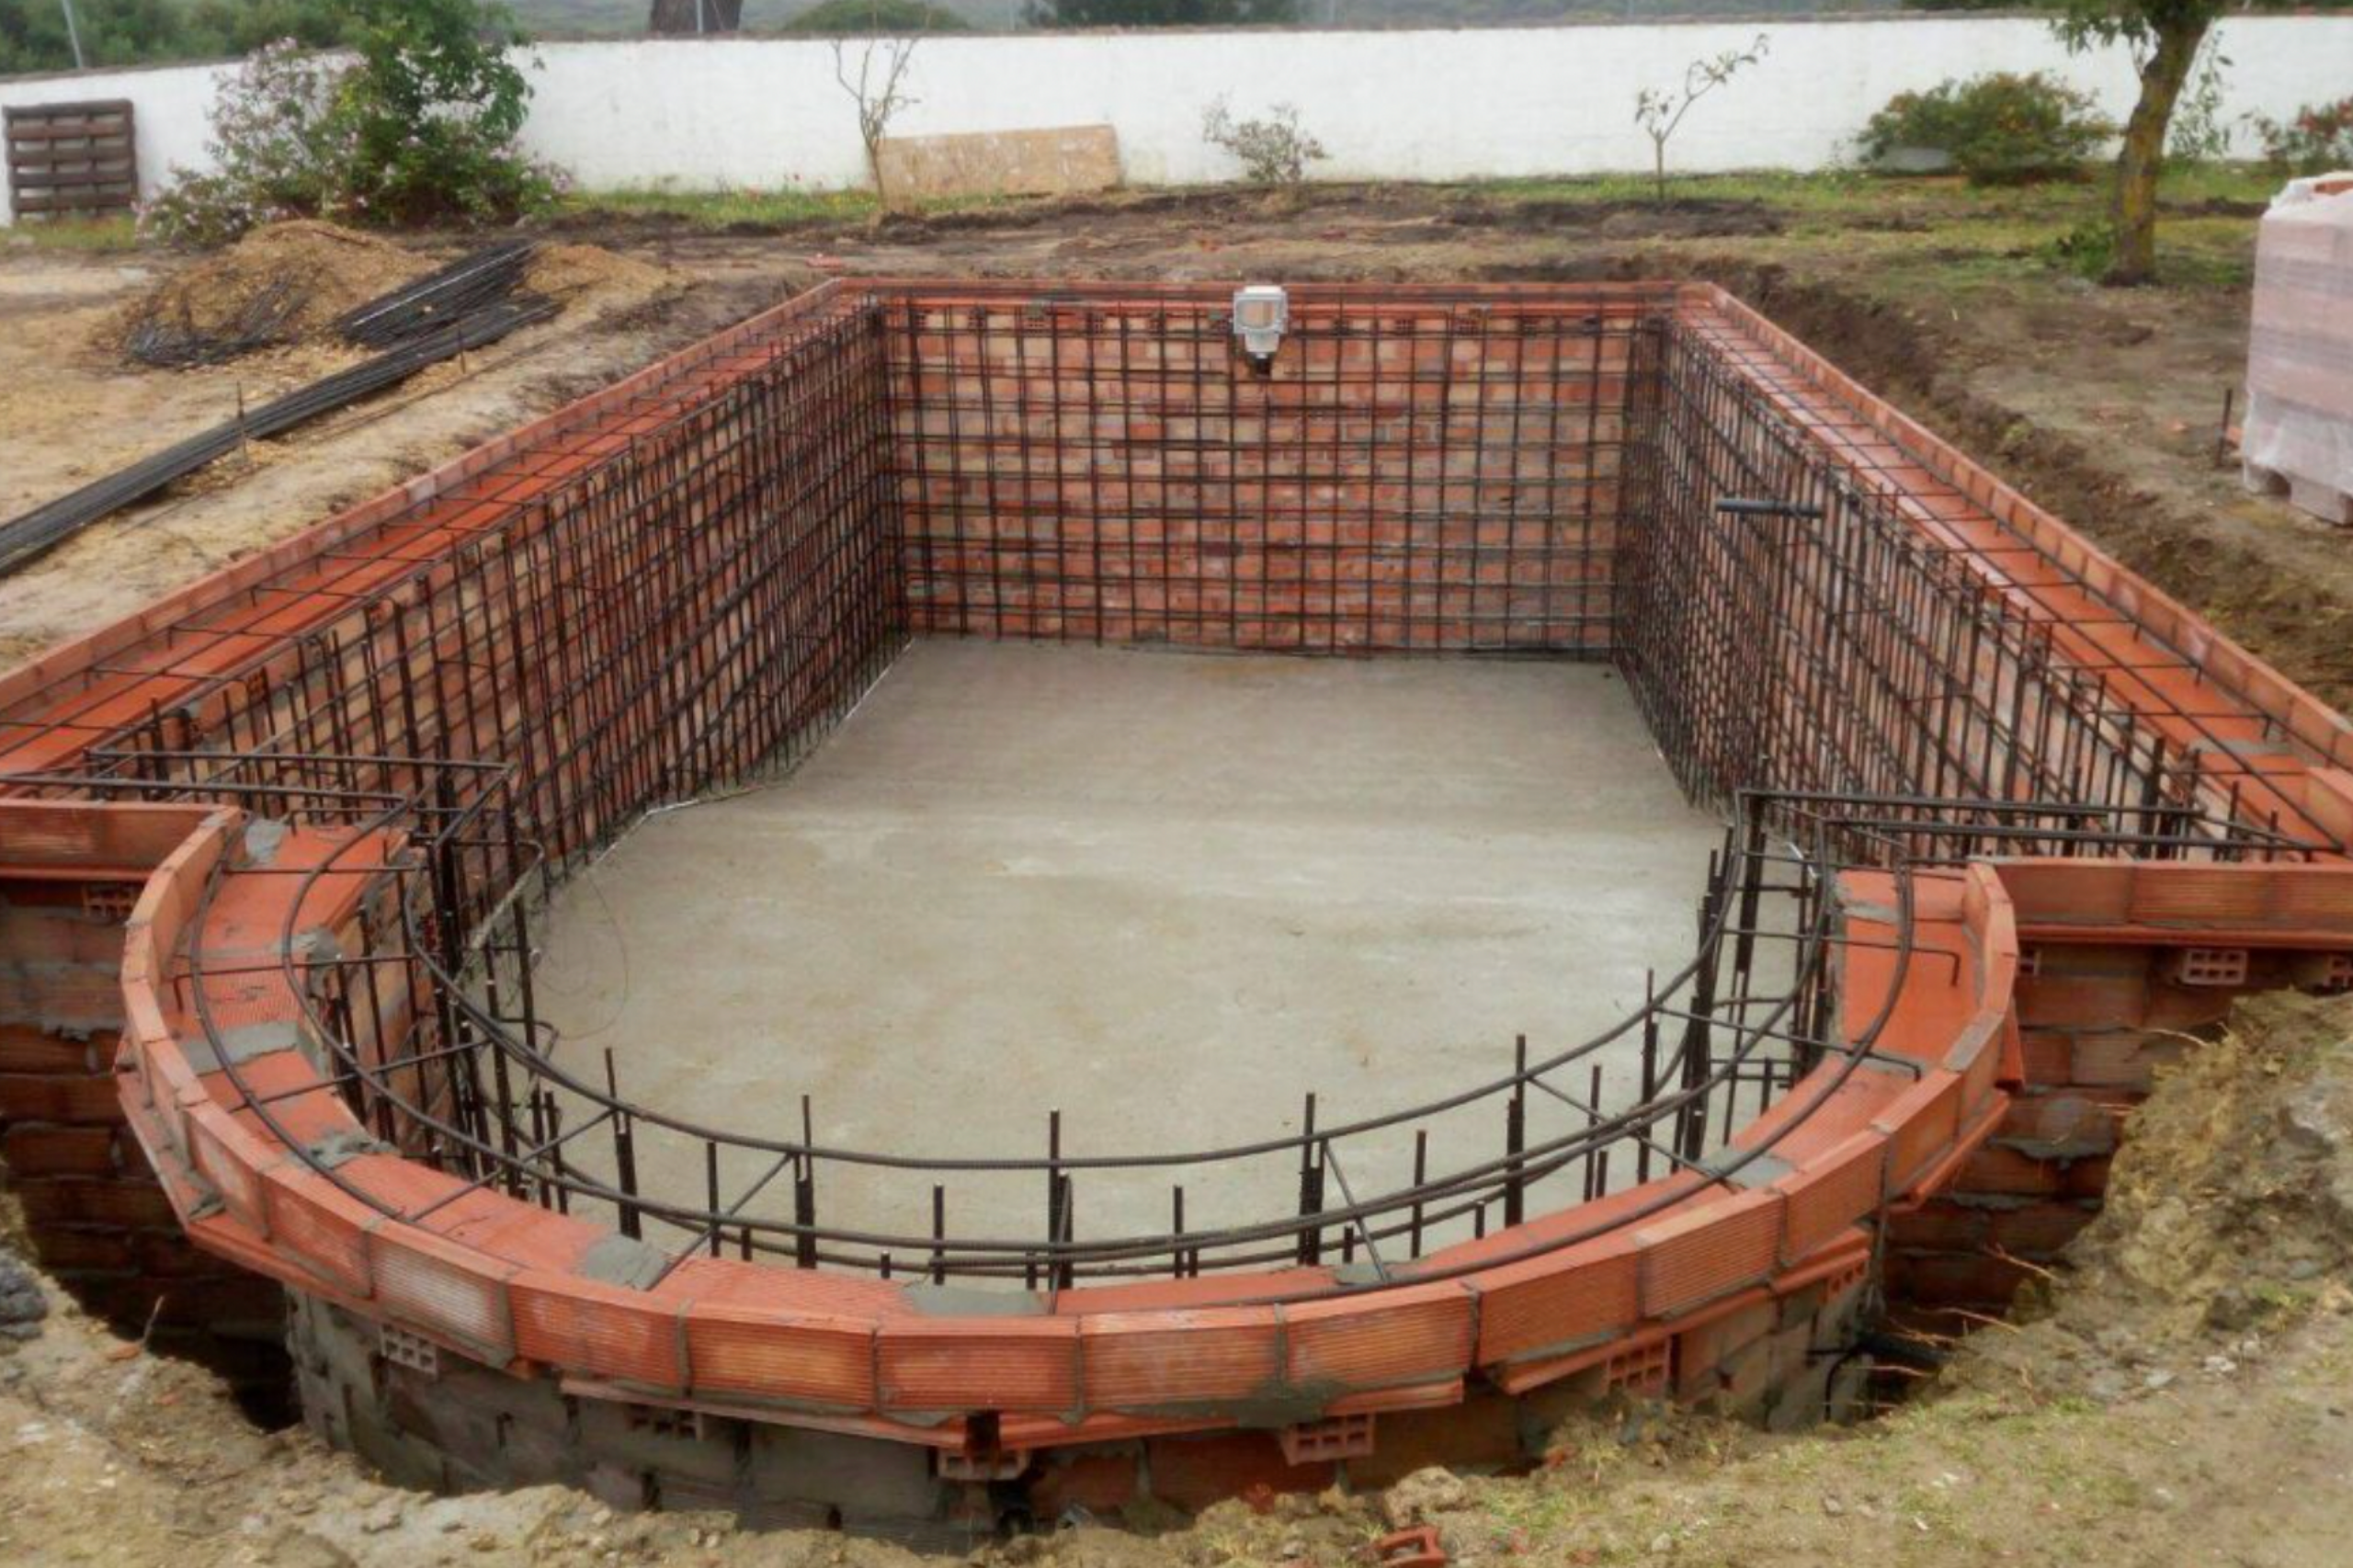
Specialised Build
A Regular Day At The Pool – Remodeling Process
Draining The Pool
A submersible pump is placed at the bottom of your pool, with a hose leading out to the street. The draining process takes anywhere from 6 to 12 hours and it depends on the size of your pool. For spas, we can drain it wholly on the same day and chip it out the pool as well.
The submersible pump may emit a loud “slurping” sound when your pool is completely drained of water. We advise homeowners to simply unplug the pump’s power cord from the outlet.
Chipping Out
The pool’s surface is chipped and primed; if homeowners have requested a tiling, then this is the step where it gets done. Chipping is arguably the loudest out of all the pool remodeling steps, and this process takes about half a day. Contractors clean up the gunite shell and clean up afterwards.
Ebozz
Tiling
Homeowners get to choose their preferred tiles for the newly-remodeled pool. We apply the grout. The whole process takes anywhere from a day or two, depending on the number of tiles. Take note that if you’ve opted for a plaster finish, the tile trims on the steps are added at the last day of the plastering process.
Cascade Pool Service
Surface Application
This is where our trucks come in. They will mix pebble and plaster in the right consistency and amount, and the mixture is pumped using large hoses to your swimming pool. Our expert plaster artisans begin hand troweling the surface, which takes approximately 4 to 6 hours.
Pebble Application
We finish with an acid wash over the pool surface once the pebble application is completed. This officially signifies the start of the pre-filling step. Pebble application is generally quick and should only take a few hours.
Adding Water
Once the pebble acid wash and plaster is in place, we begin adding the water. Homeowners must be present during this process; the water must reach halfway up the tile line, or the skimmer opening before the water flow is turned off. It’s absolutely important that you should NOT turn off the flow of water before completely filling up the pool, or else water lines form up on the inside of your swimming pool.
One way to go about this is to control the flow of water. Slow it down if you wish, but don’t turn off the tap until the pool is filled up.
Depending on the size of the pool and the water pressure, filling up the pool should take anywhere from 12 to 48 hours total.
Chemical Startup
The post-water startup depends on whether you’re using plaster or pebble. Plastered pool is about the same process as the pebble-based ones, but with the difference being that it takes a few days for it to be completed instead of just a few hours in one session. The reason behind this is that plaster is more sensitive and homeowners will have to match the water’s pH level to that of an acidic state for a longer time period than pebble-based pools.
Clear Comfort
What Should You Do As The Homeowner?
Your role is to ensure the following is met for a smoother remodeling experience:
- We mentioned earlier how important it is to keep an eye on the water level as you fill your pool. Don’t shut off the water supply and the flow until the line reaches at least the top of the tiles or halfway up the skimmer, or you’ll have unsightly water lines at the end of the remodeling project.
- If you’ve decided that you want a colored plaster for your pool, you must be present by the time the mixer has finished combining the colors to see if the sample is the right hue. This is a step you must complete before the plaster is pumped out to the pool. There’s no doubt that our mixers will obtain the right shade each time, but it’s always good practice to give out an official seal of approval if you’re able to see it.
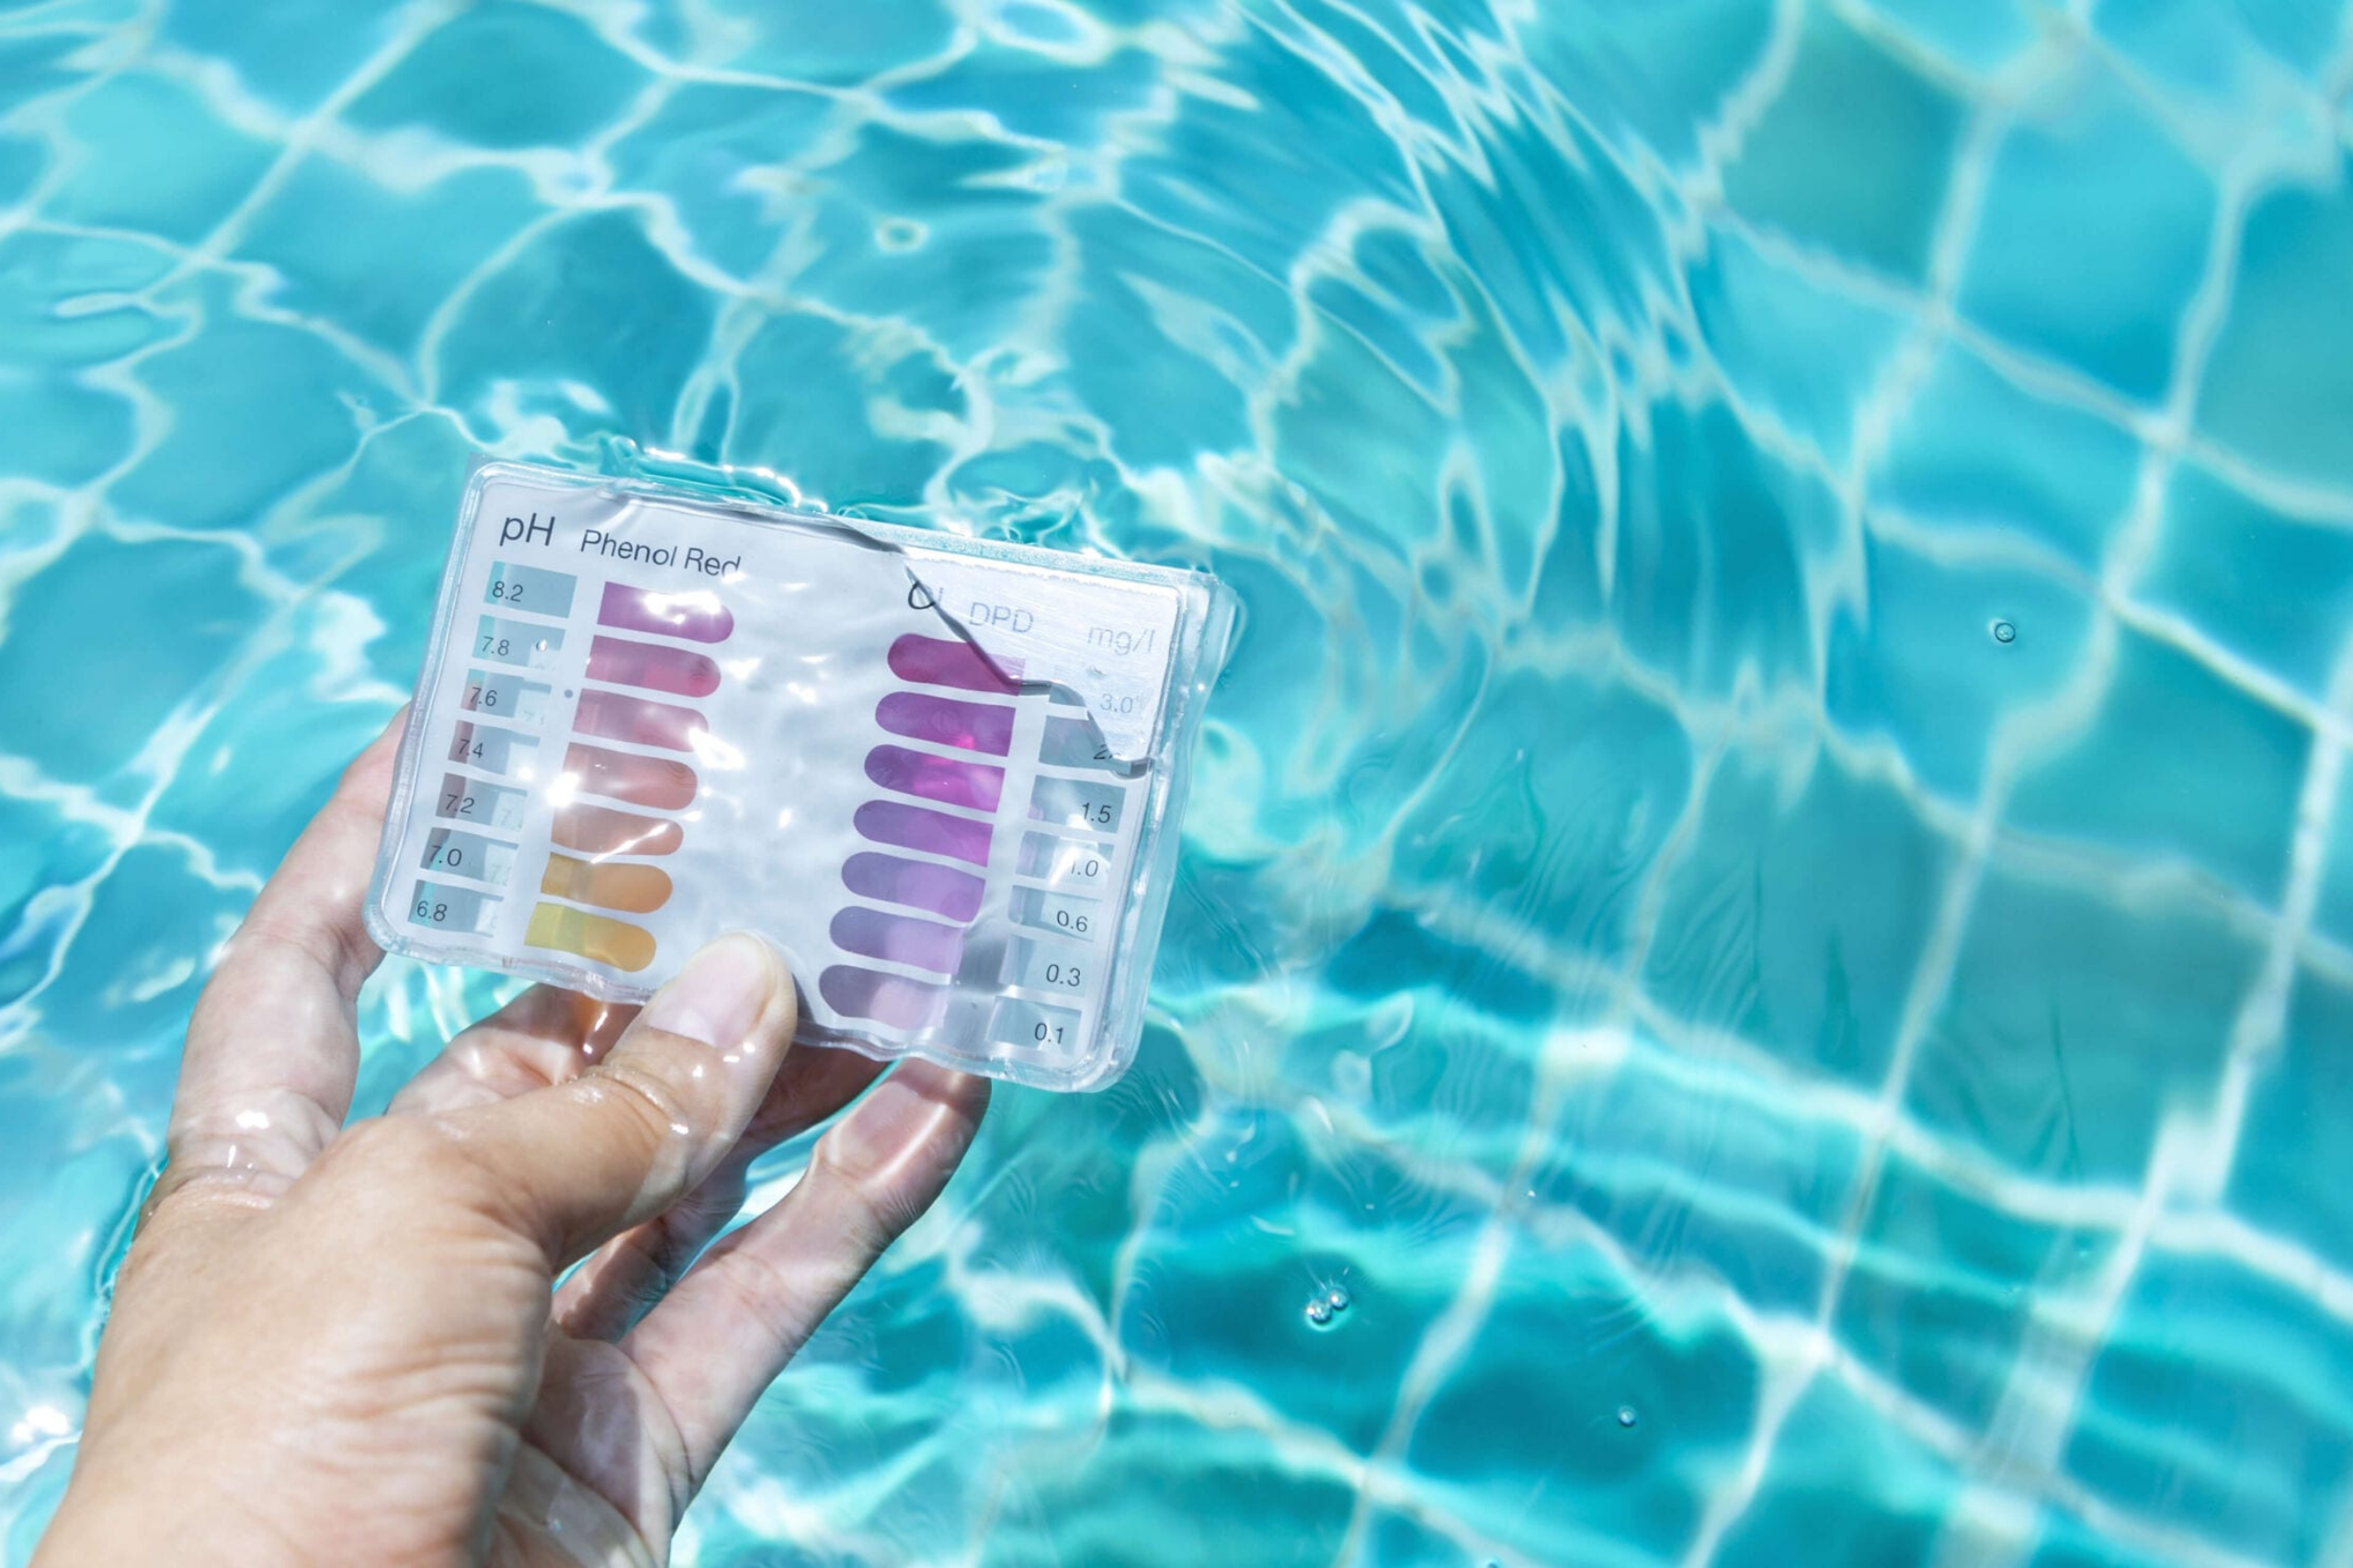
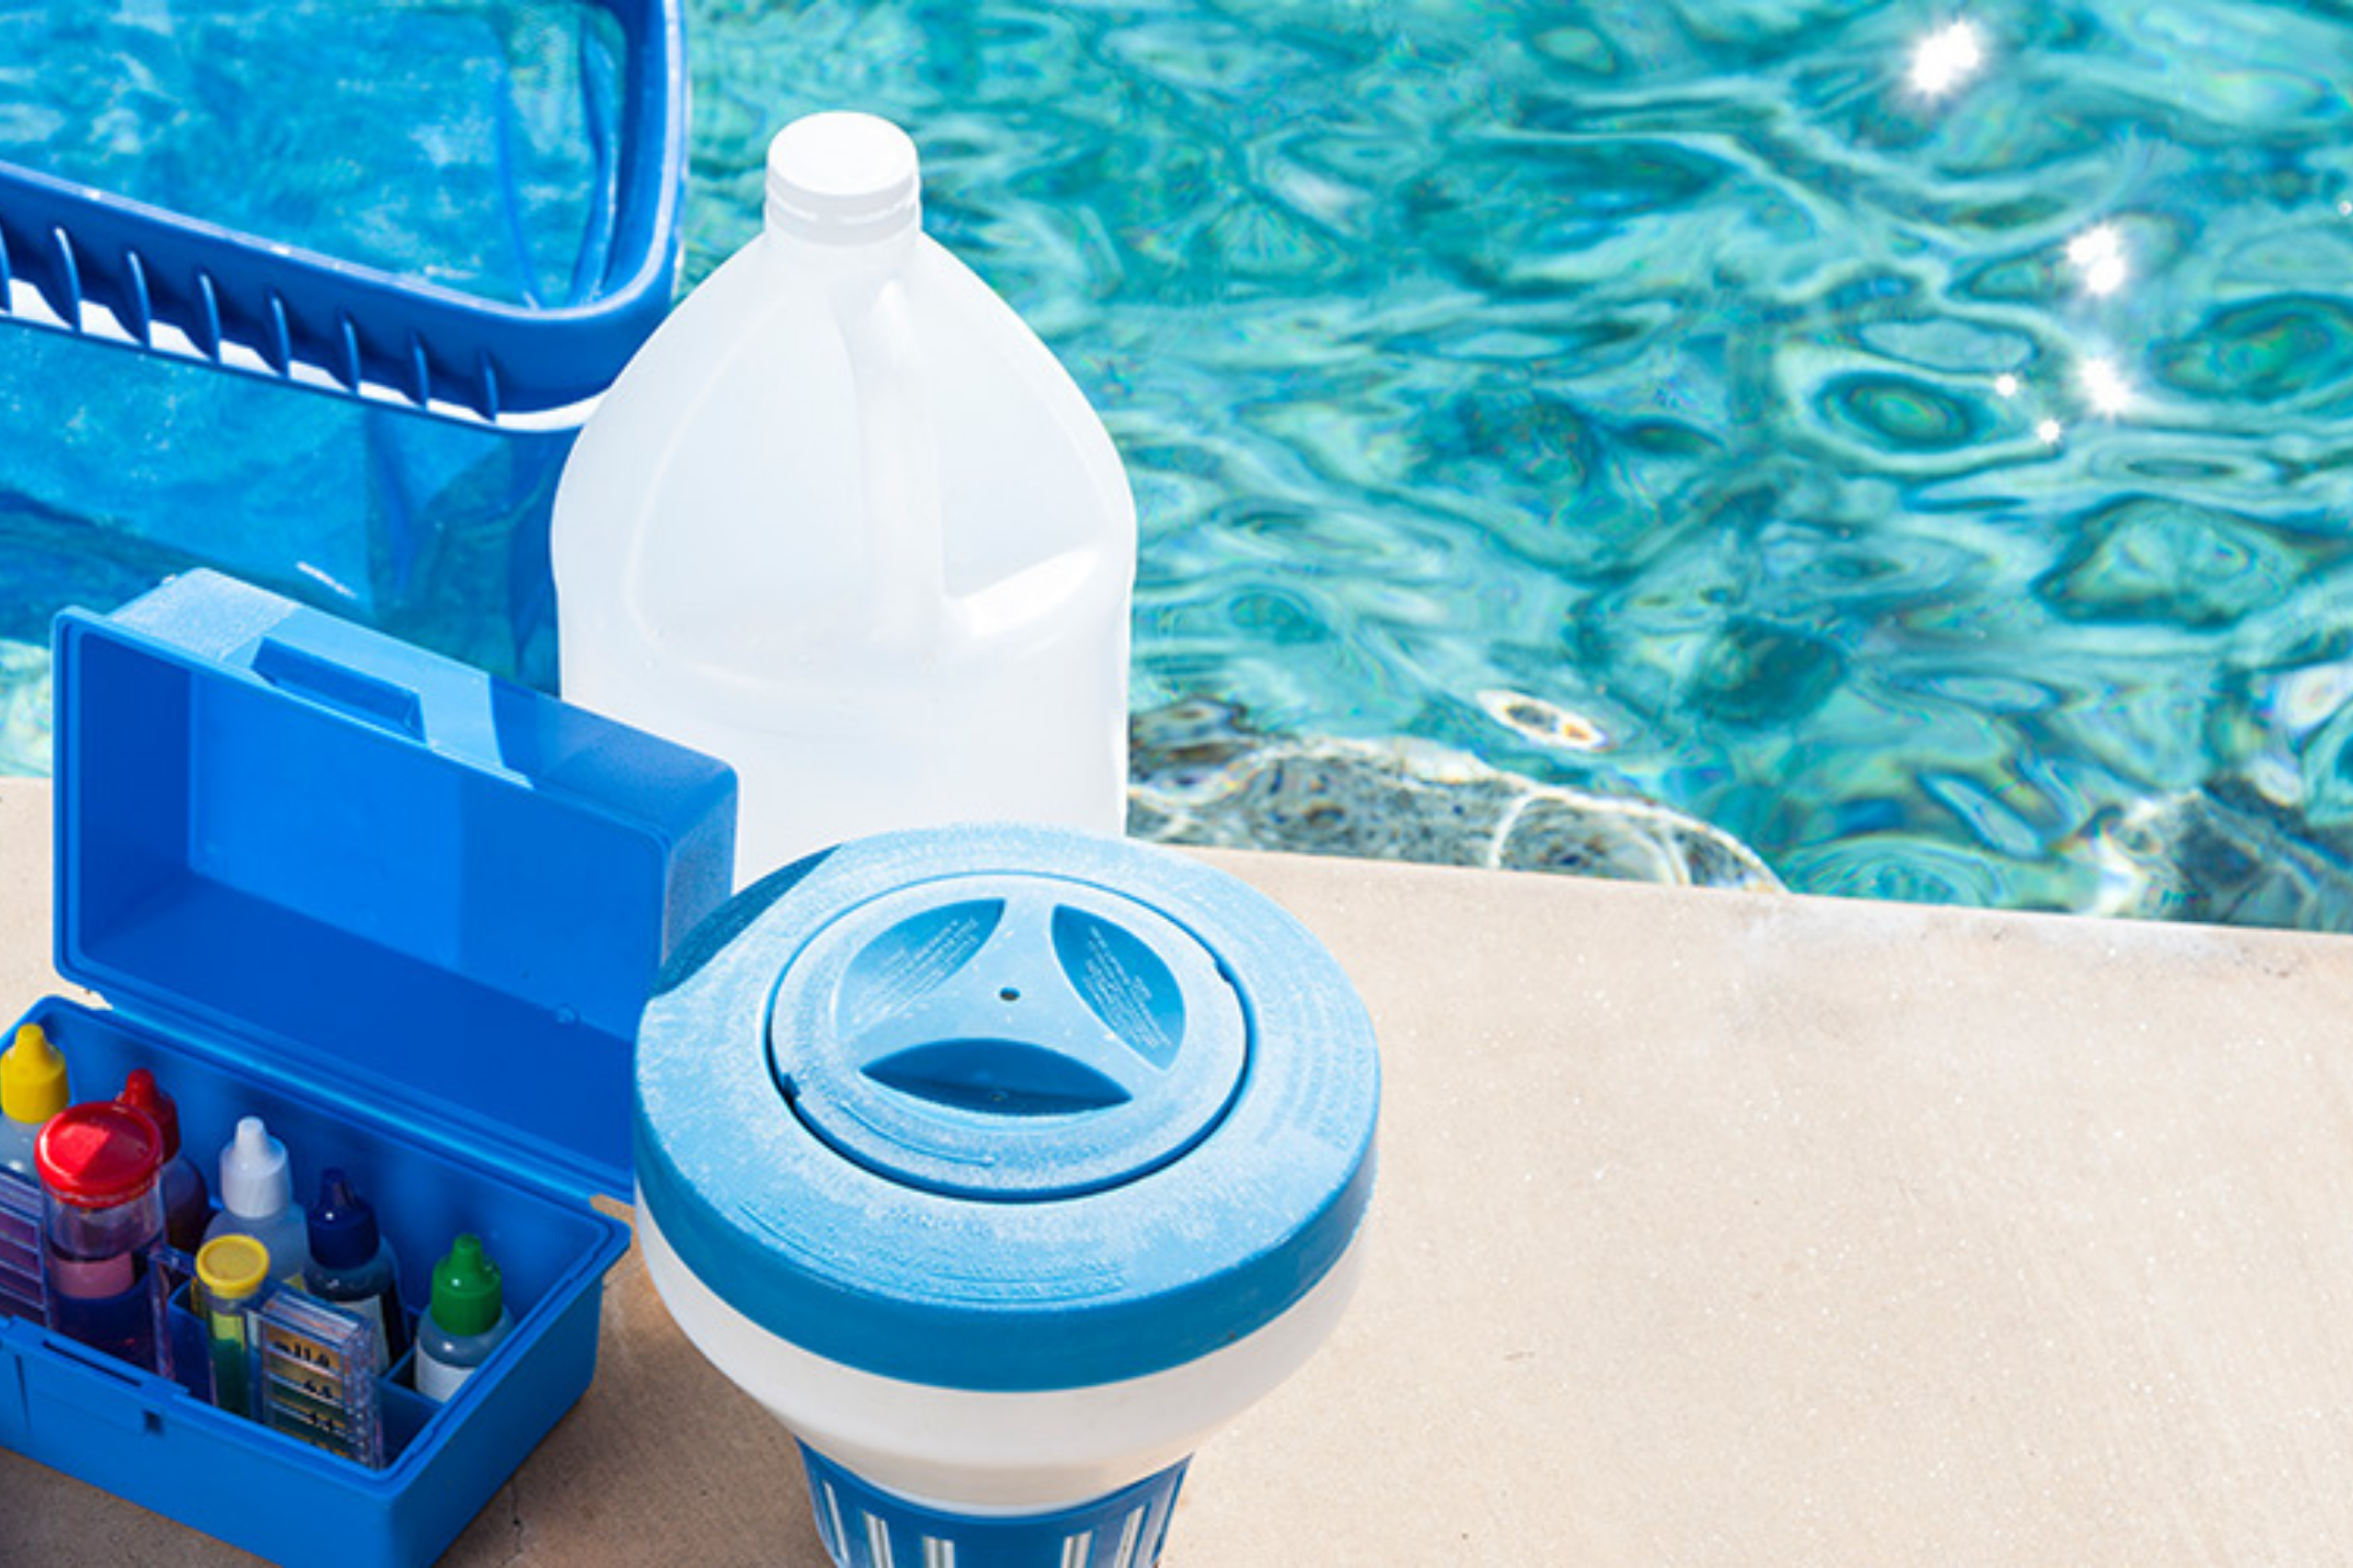
- Hire a professional pool service company and have them conduct check-ups and routine inspections in regards to your pool water’s chemistry. If you want, you can get test strips or kits from the local store and do a DIY, or acquire water samples and have the professionals do the testing themselves.
c & en
What You Should Expect From A Finished Pool Remodeling Project
Small Cracks
You may notice tiny superficial cracks along the surface of the pool, most notably at the top steps. This is completely normal, as these parts are the last ones to be filled in by water. The cracks will not affect how your pool looks, nor will it be detrimental to the final product.
Pool Stains
Staining on pool surfaces are normal. Over time, a variety of foreign materials such as dirt, leaves, sticks, metals, etc. will end up on the surface and cause stains. There are a few ways you can eliminate these stains and come out with a clean-looking pool, i.e., acid washing, Super Stain Out, etc., but you can also think of it as natural aging and allow your pool to develop its own character.
Pebbles Dislodging
A pebble-based swimming pool will naturally have thousands of pebble stones. If you notice some of these pebbles being dislodged from the surface, that’s okay. It’s all part of the curing process, and you can have your pool service take care of the loose stones.
Copper Plumbing
Do you have copper piping located either below or above ground, or copper-based products? Expect characteristic green stains appearing on your pool’s surface. The reason behind this is that copper deposits are naturally green in hue. You’ll notice this sooner if you have light surface colors and with plaster-based pools.
Surface Samples
Surface samples that you browse on our showrooms should be very similar to the finished product. Factors such as the manual hand troweling process and the large area that our professional pool remodelers will have to work on may produce a less perfect match to that of the base sample you chose.
Hand Troweling Process
We are proud to say that our plaster and pebble surface application is entirely made by manual hand troweling process. You may notice that the pool’s surface and the color may sometimes exhibit an unevenness as compared to a machine, but this is perfectly normal.

Dumican Mosey
What’s Covered By The Warranty?
Gunite
A typical swimming pool is made up of two layers–the pebble or the plaster surface which is around an inch or two in thickness, and the concrete shell, sometimes called the gunite, which spans around 12 inches thick. Think of the pebble or plaster layers as the drywall of your home. The drywall is painted and attached to the studs; in the same vein, the plaster or pebble surface is attached to the gunite shell. The gunite shell represents the wooden studs found at the interior walls of your home’s foundations.
Plaster Surfaces
Let’s continue talking about drywall and plaster surfaces. A hired drywaller who is tasked to replace your home’s drywall will naturally have a warranty that protects against delamination, bubbling and peeling. Keep in mind that the strength of the drywall depends on how strong the wooden studs are. Say, for instance your home’s foundation moves and the drywall cracks as a result, then you can safely say that the cracking of the drywall is caused by the shifting of the home’s foundation and not because of the drywall’s workmanship quality.
Cracks & Lines
A crack in the plaster wall won’t necessarily mean poor installation. Take a closer look–is the plaster popping off, bubbling or peeling? If not, then chances are that the very foundation of the pool itself may be compromised by ground movement or shifting soil. Unfortunately, this isn’t covered by the pool builder’s warranty because of several things: one, it’s outside their control and two, the nature of plaster is such that it will eventually change color or mottle after some time. Homeowners should keep in mind that mottling is a cosmetic issue, and that it doesn’t really affect the pool’s overall structure. In the same manner, stains are caused by mineral buildup and deposits over time, which is beyond the control of your pool remodeling company.
Hairline and spider web cracks aren’t covered under warranty as there’s a limit to how your pool contractor can keep these to a minimum. Your pool steps will be the last area to be covered by water, and as such they are the most likely section to develop fine cracks as they are the ones exposed to air the longest.
As for pool lines, it’s inevitable. There will always be calcium lines where the pool water meets the air. As water moves about and splashes along the tiles, calcium spots accumulate on these surfaces. Professional pool cleaners can be called to eliminate these water lines if desired.
Swimming Pool
Pool Maintenance Advice and Tips
Spent good money on remodeling your pool and want to prolong your investment? Consider hiring a professional pool cleaning service to maintain your pool. It only costs about $20 more and you’ll really see the difference.
Surface stains a pesky problem? Here’s what you can do- buy the latest roaming vacuum. There are different types available–suction, vacuum or pressure-based devices to choose from. Get the one that has good reviews online, or you can ask your pool service professional for what they would recommend for your pool. Keep in mind that each type of vacuum will have its own pros and cons, but the bottom line is that they will reduce the occurrence of stain on your pool because they remove the debris before it can cause damage. If you’re on a budget, you can opt for a stain prevention treatment like Super Stain Out, which will only set you back $20 per month.
You may also get a quote from your local pool cleaning company about a weekly phosphate removal service. Keeping phosphate low lessens the growth of algae, which minimizes the occurrence of surface stains for your pool as well. Plus, you’ll use less algaecides which may contain staining elements such as silver or copper.
For the more ambitious pool owner here is a complete DIY guide on how to clean pool tile.
Install an acid feeder to constantly monitor the pH levels of your pool. To reduce oil and calcium buildup, here’s what you can do:
- A dose of scale or calcium inhibitor weekly, followed by an enzyme treatment.
- Add a water conditioning device such as Aqua-Rex, etc. Make sure to ask your pool service professional first before installing one.
- Have a monthly service tile cleanup.
Looking to make your home more energy efficient? Here’s a good place to start. For your pool, get a variable speed pump so you can save big on electricity. They run on lower RPMs but they are better than single speed pumps for filtering your pool water.

